

1
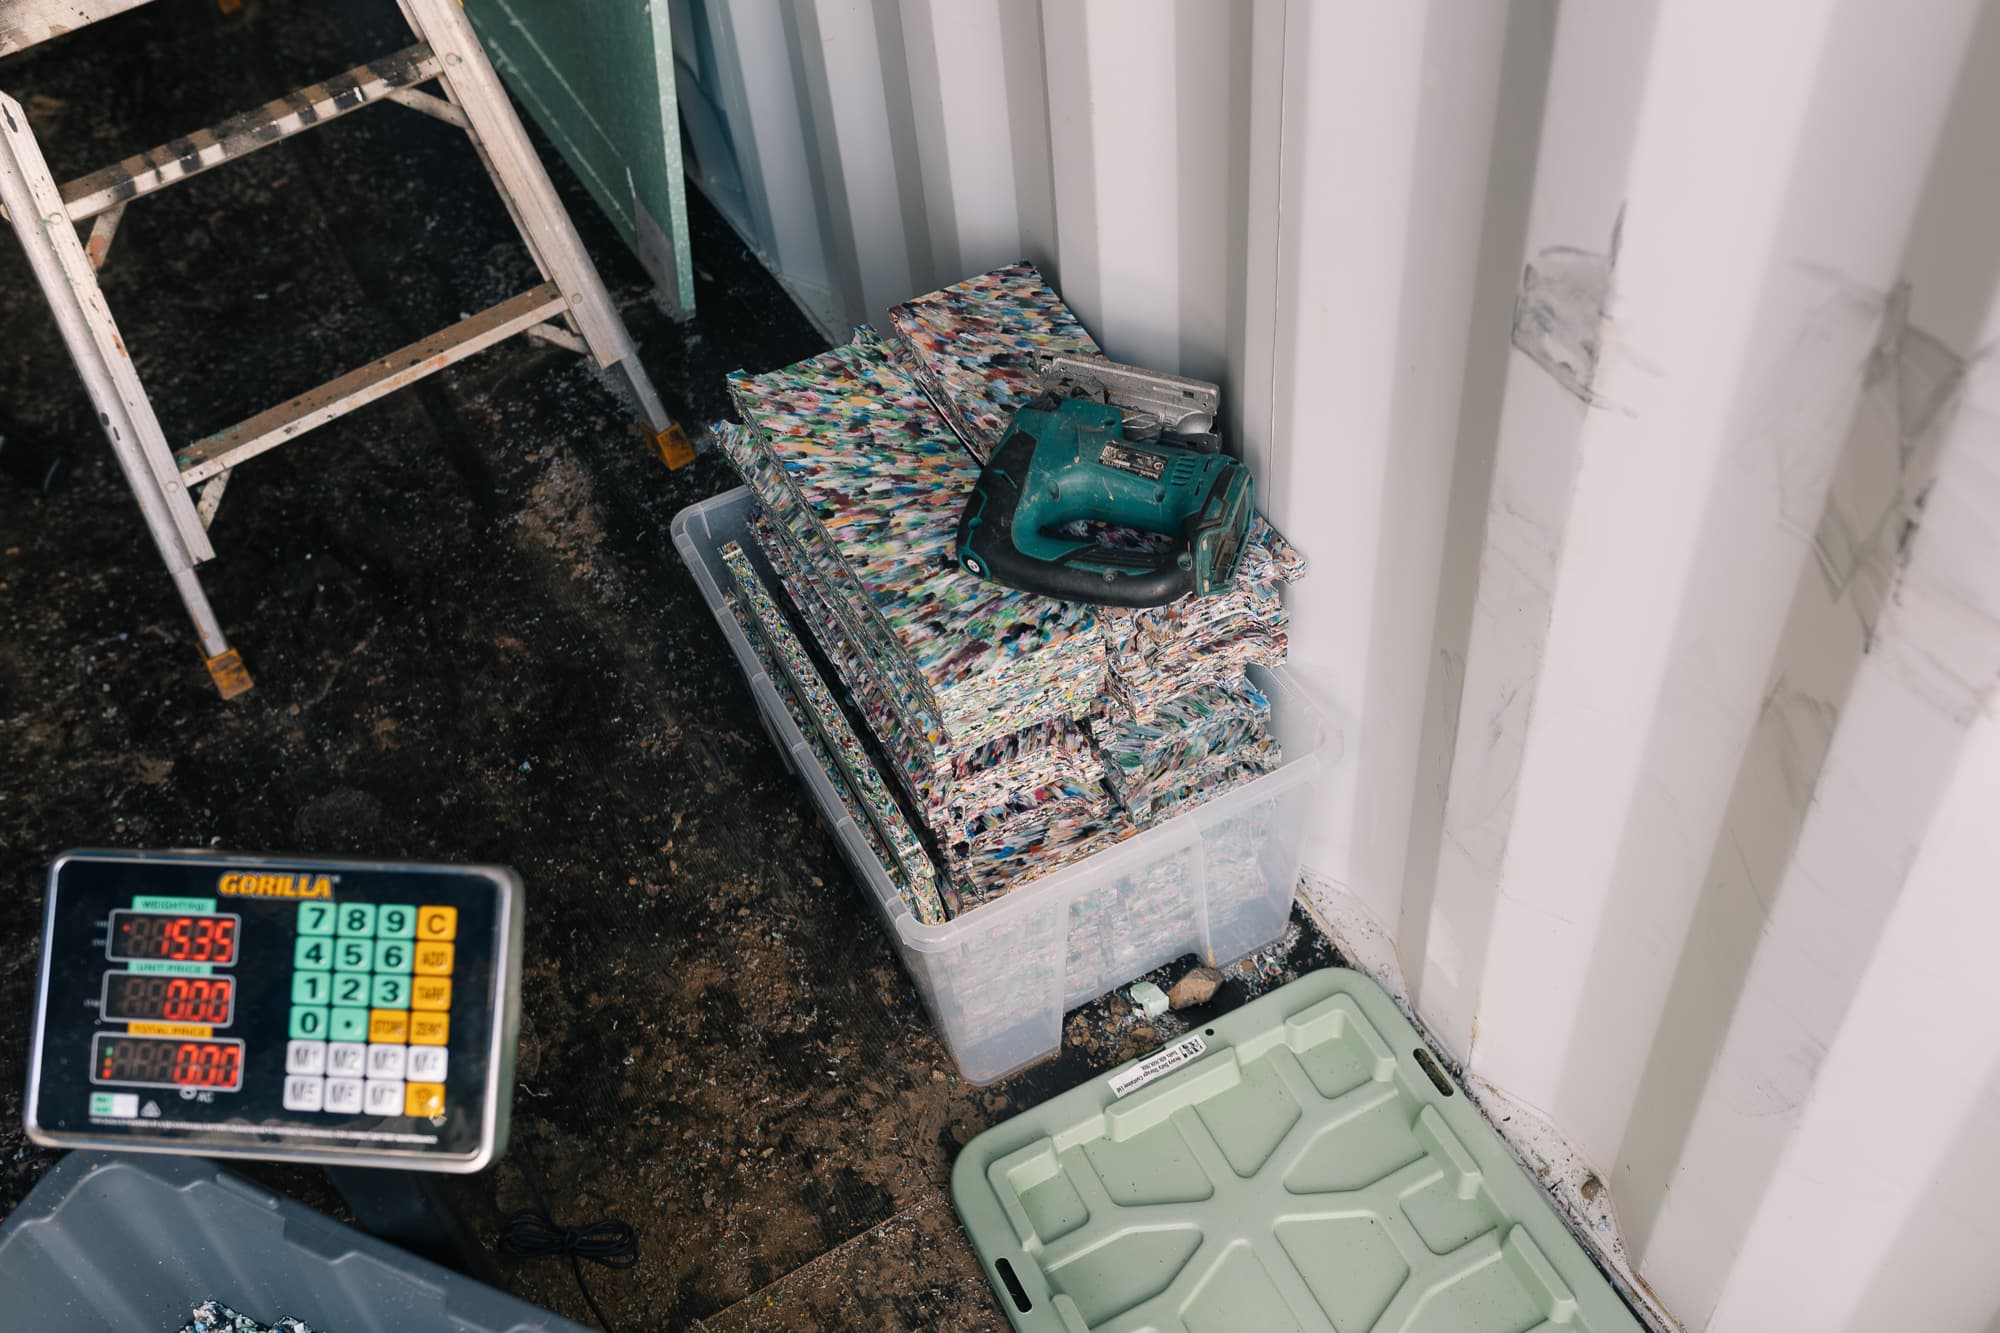
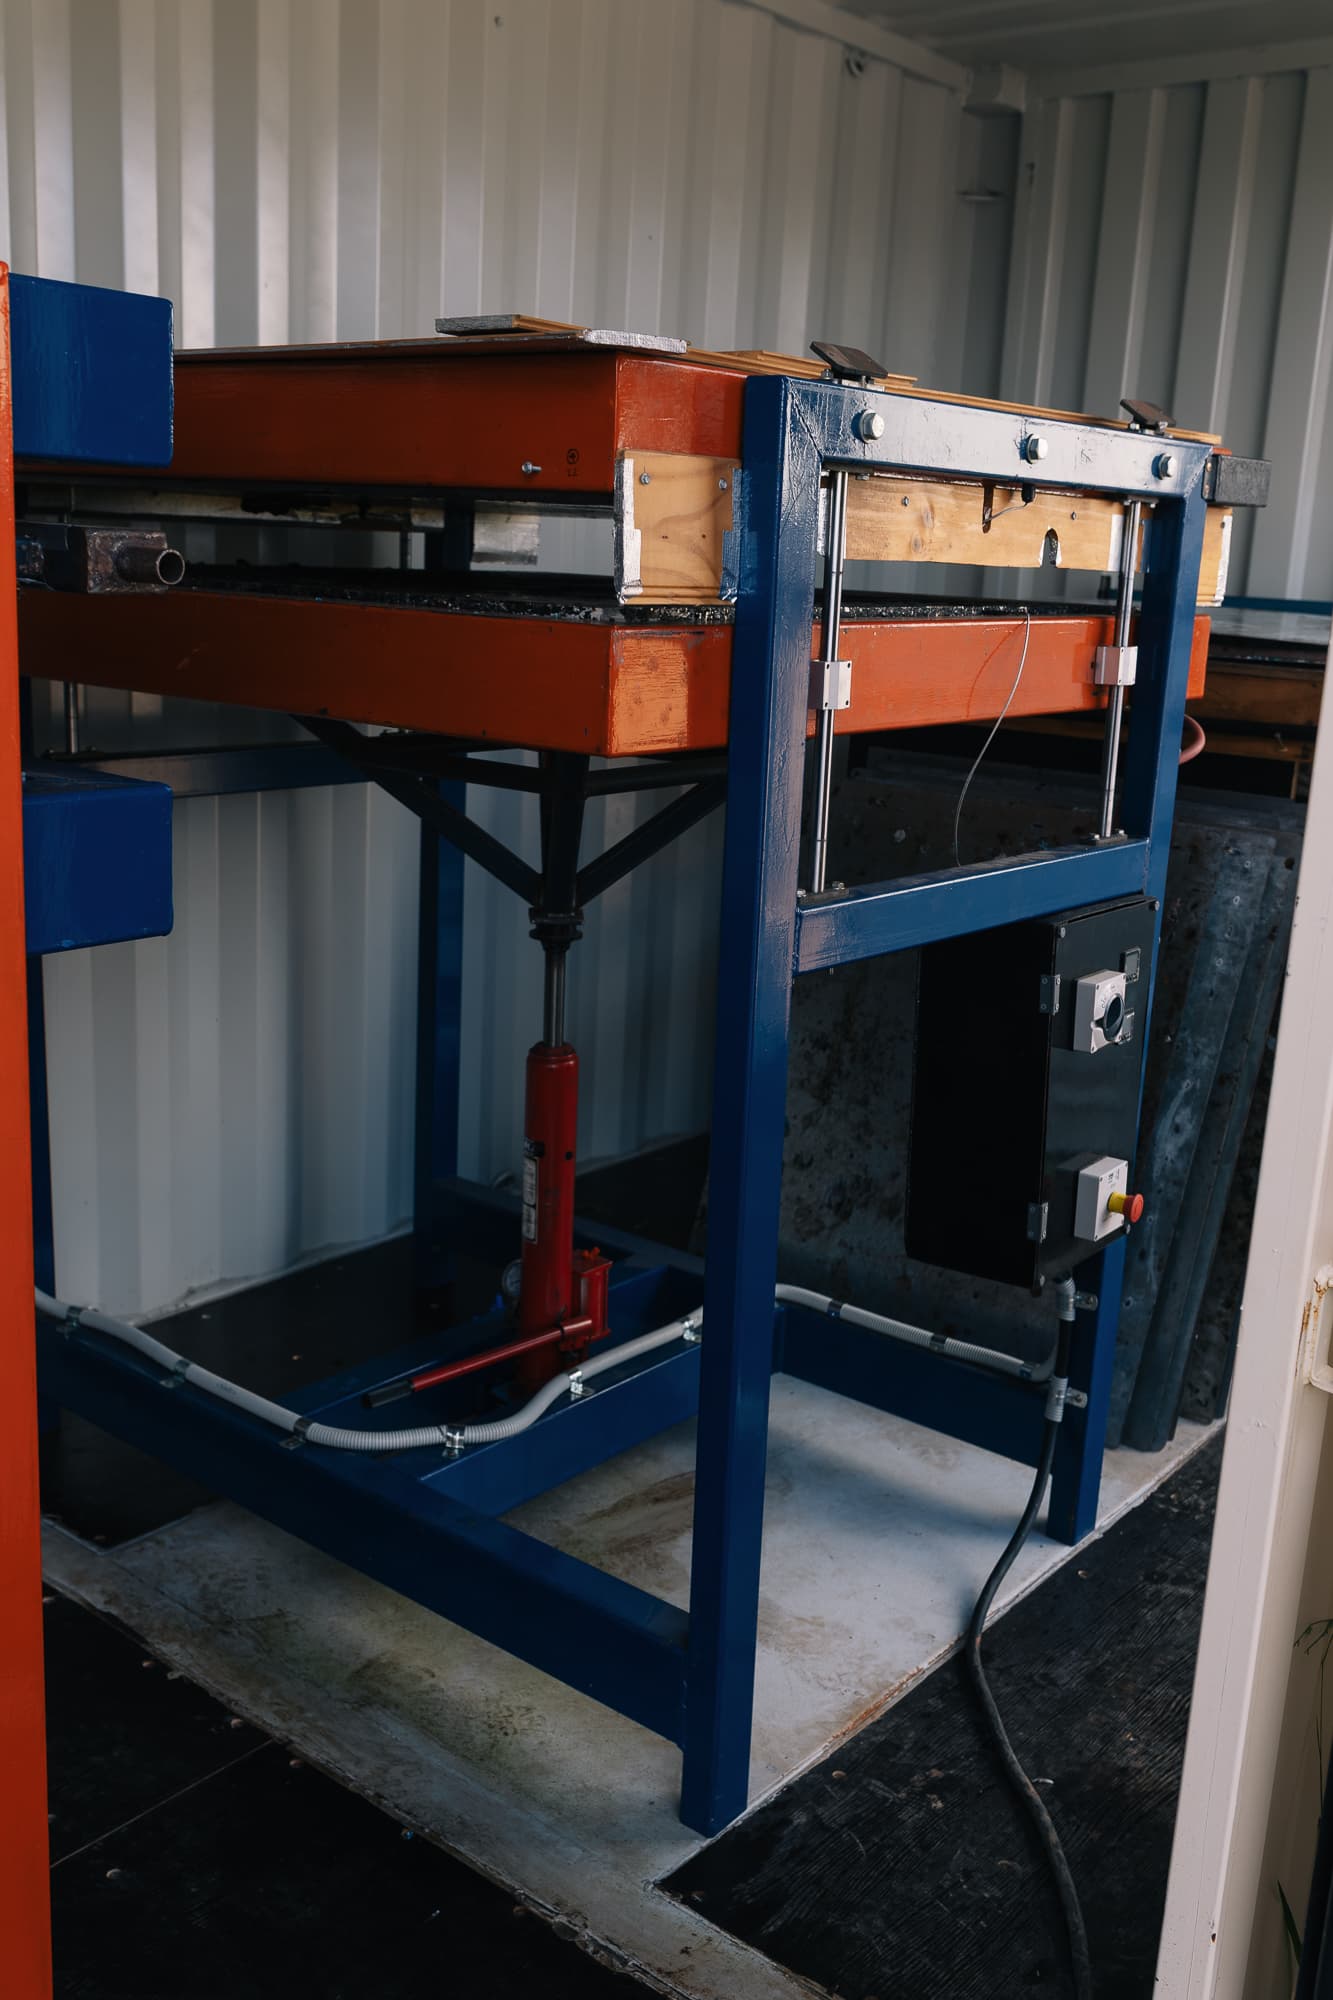
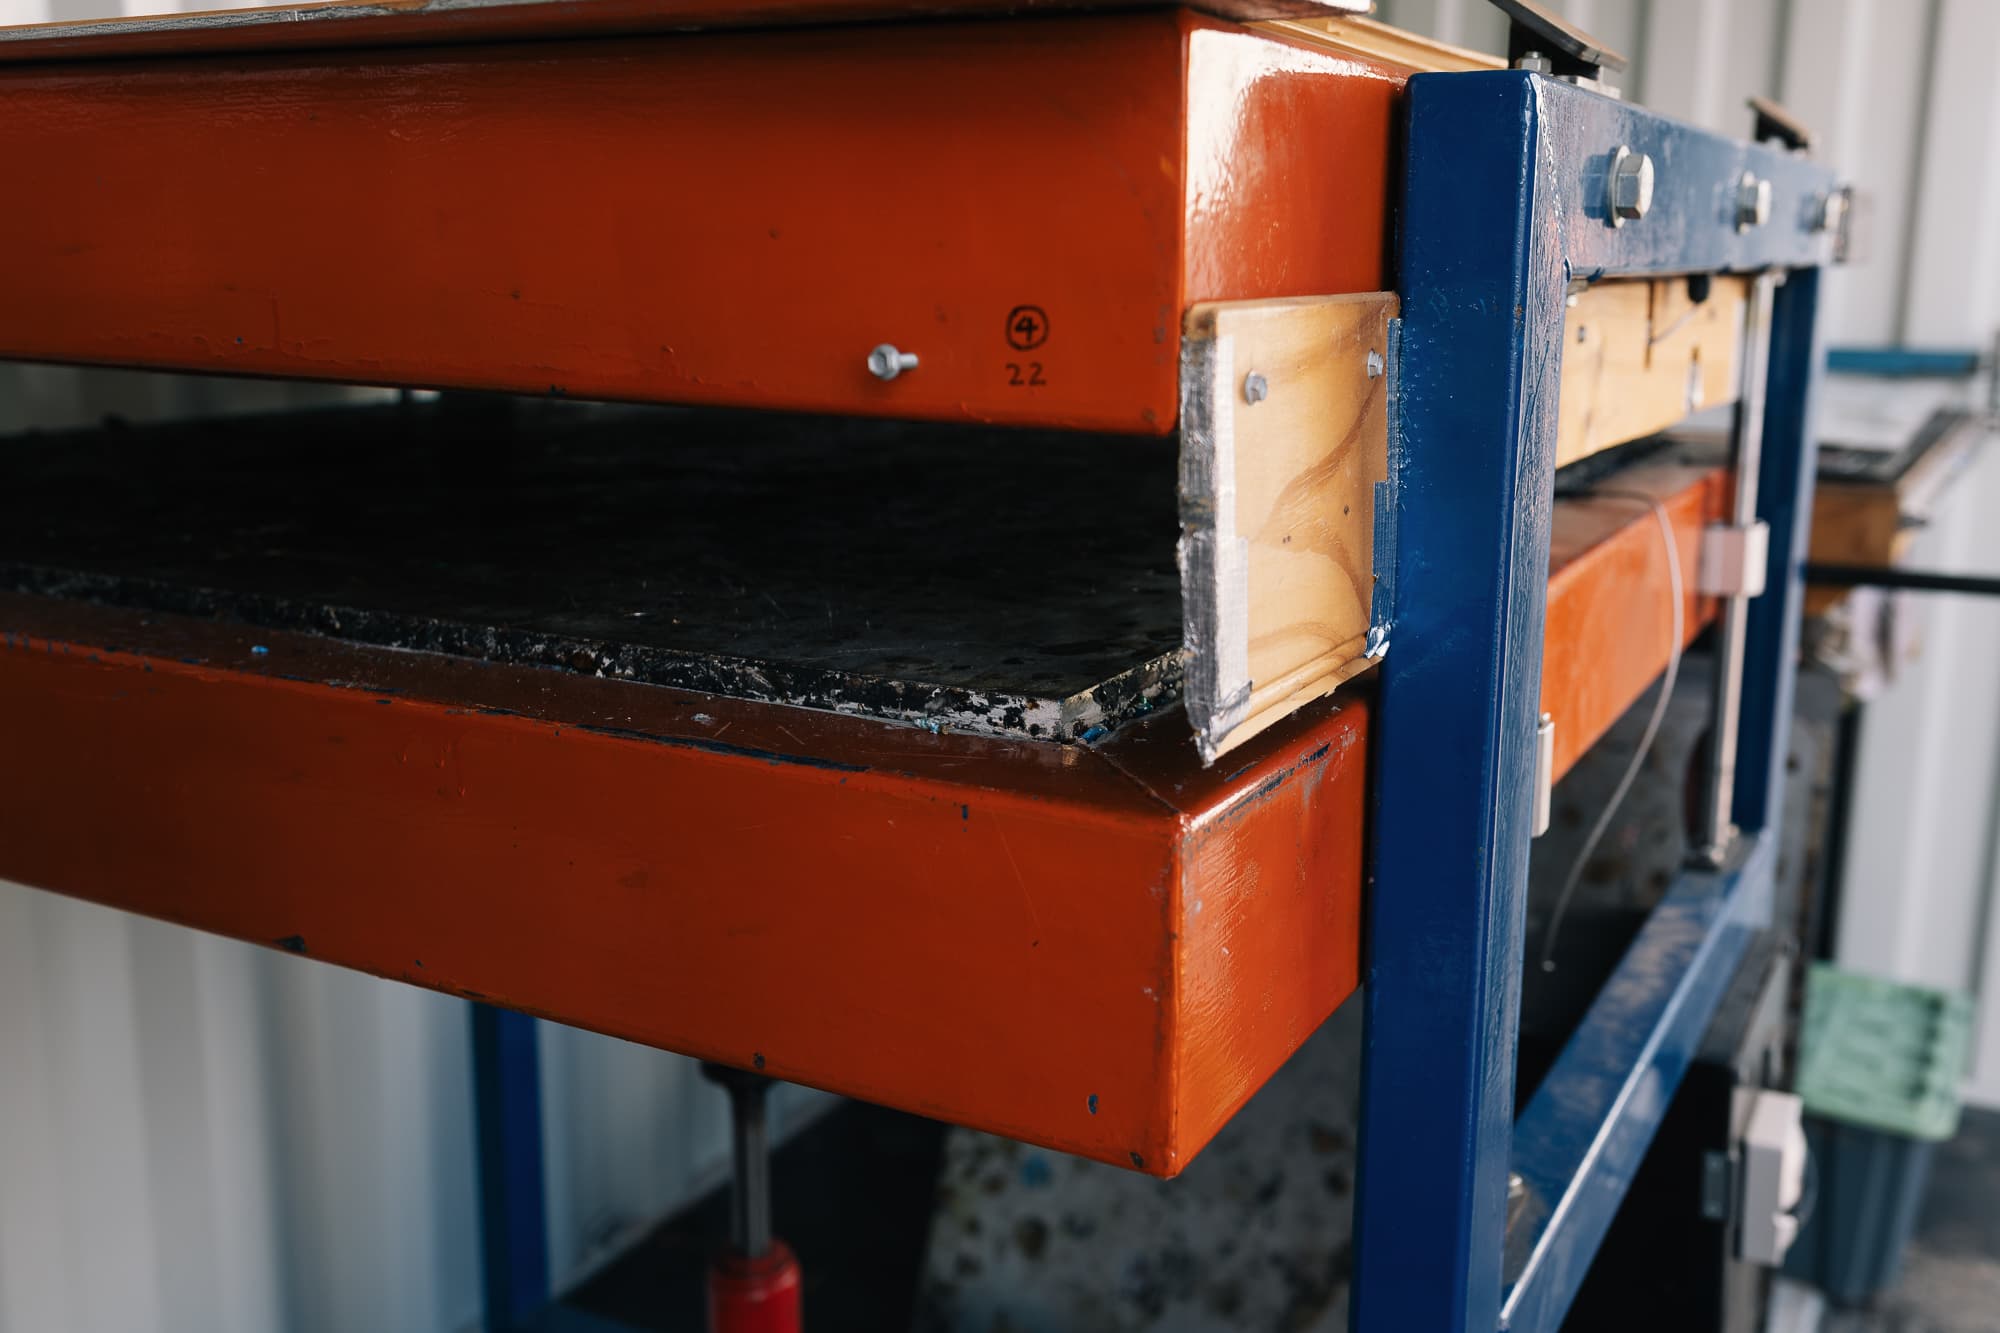
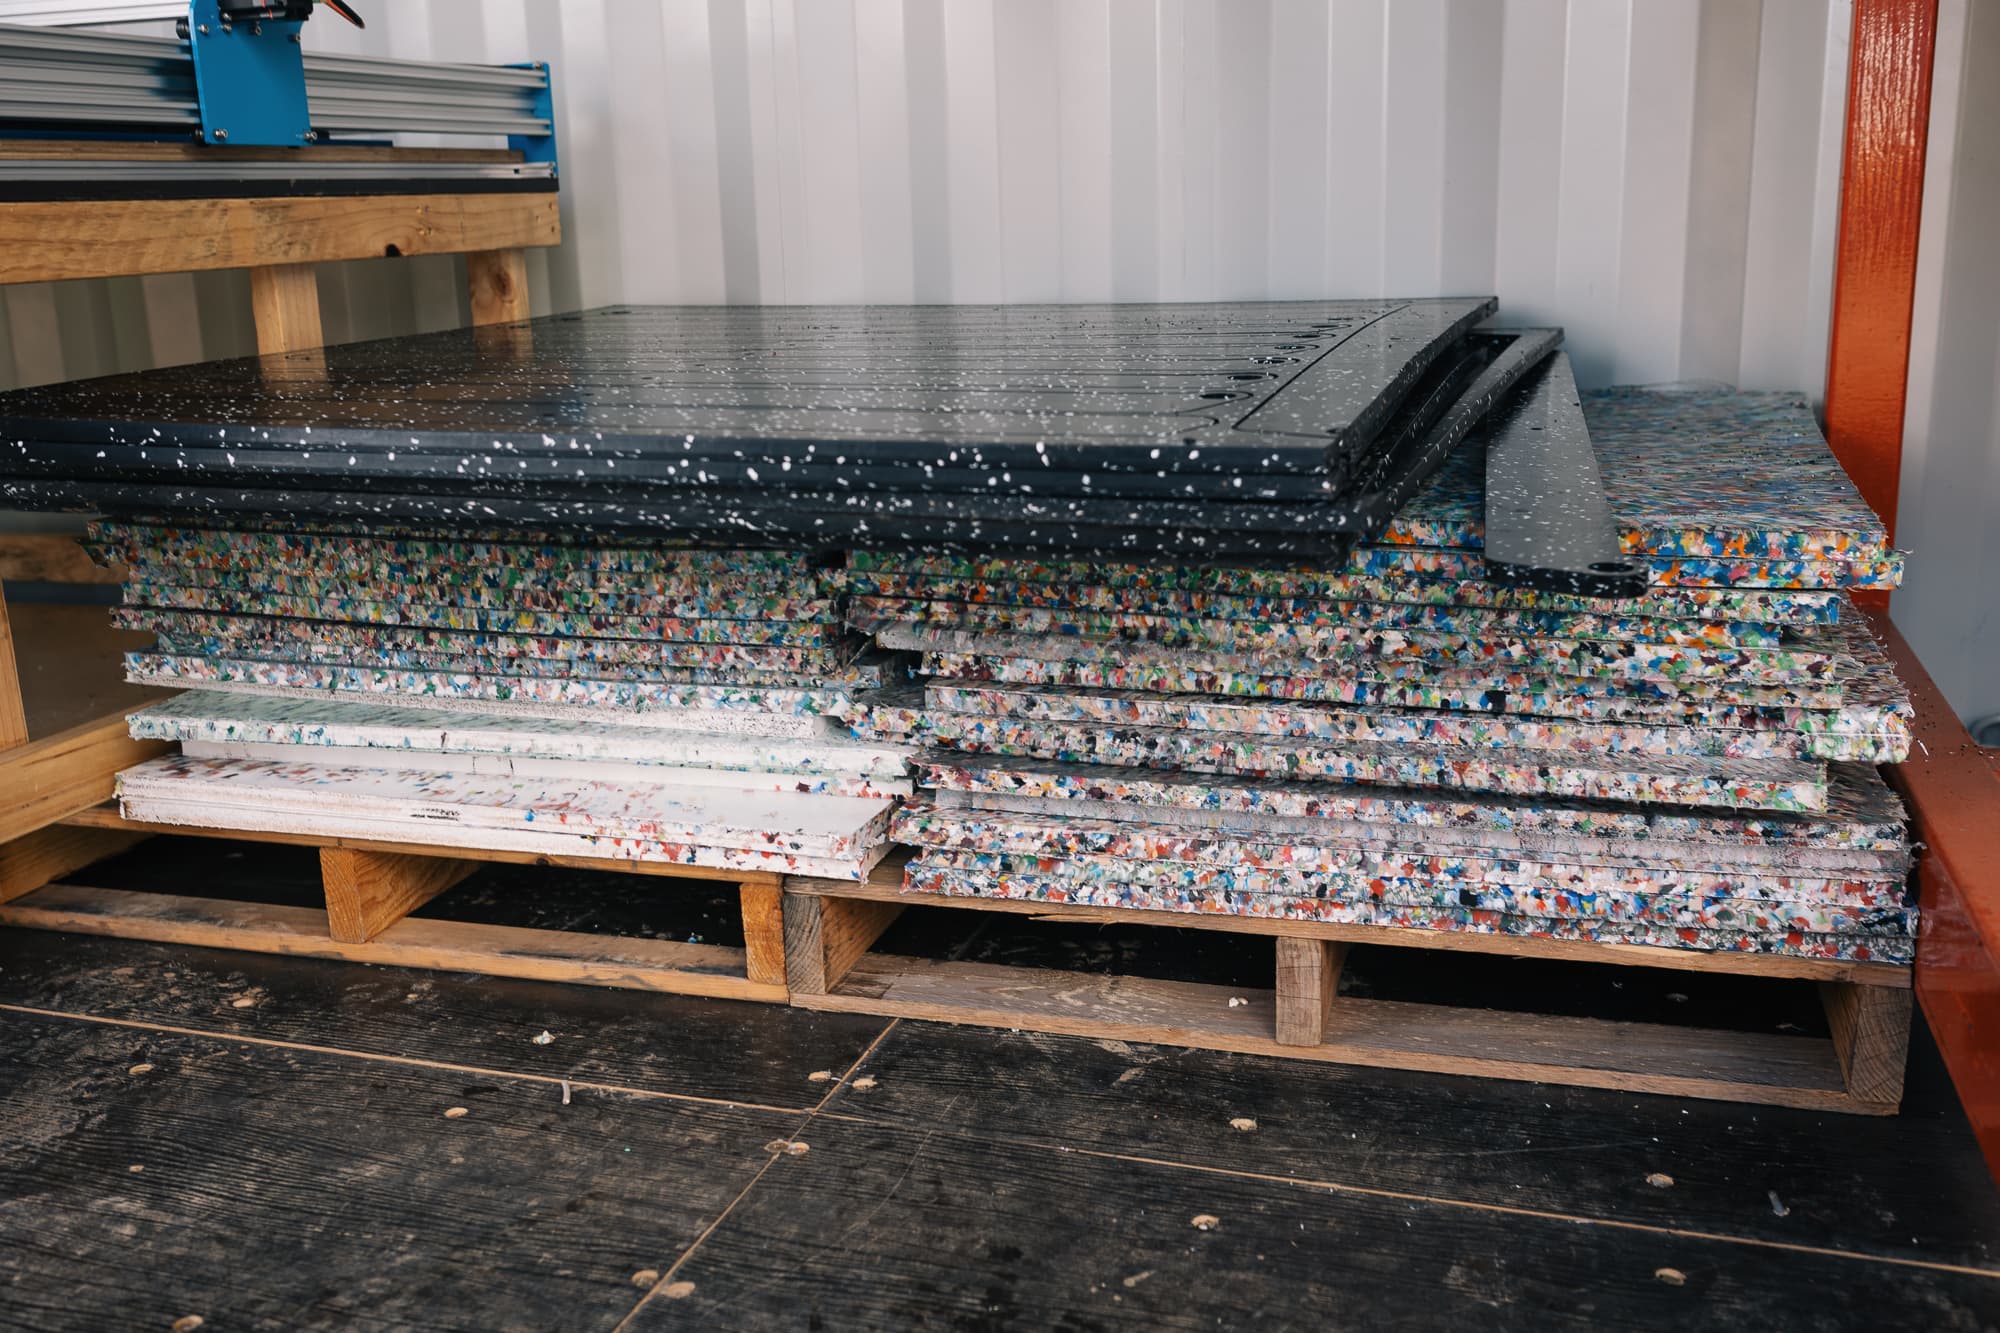
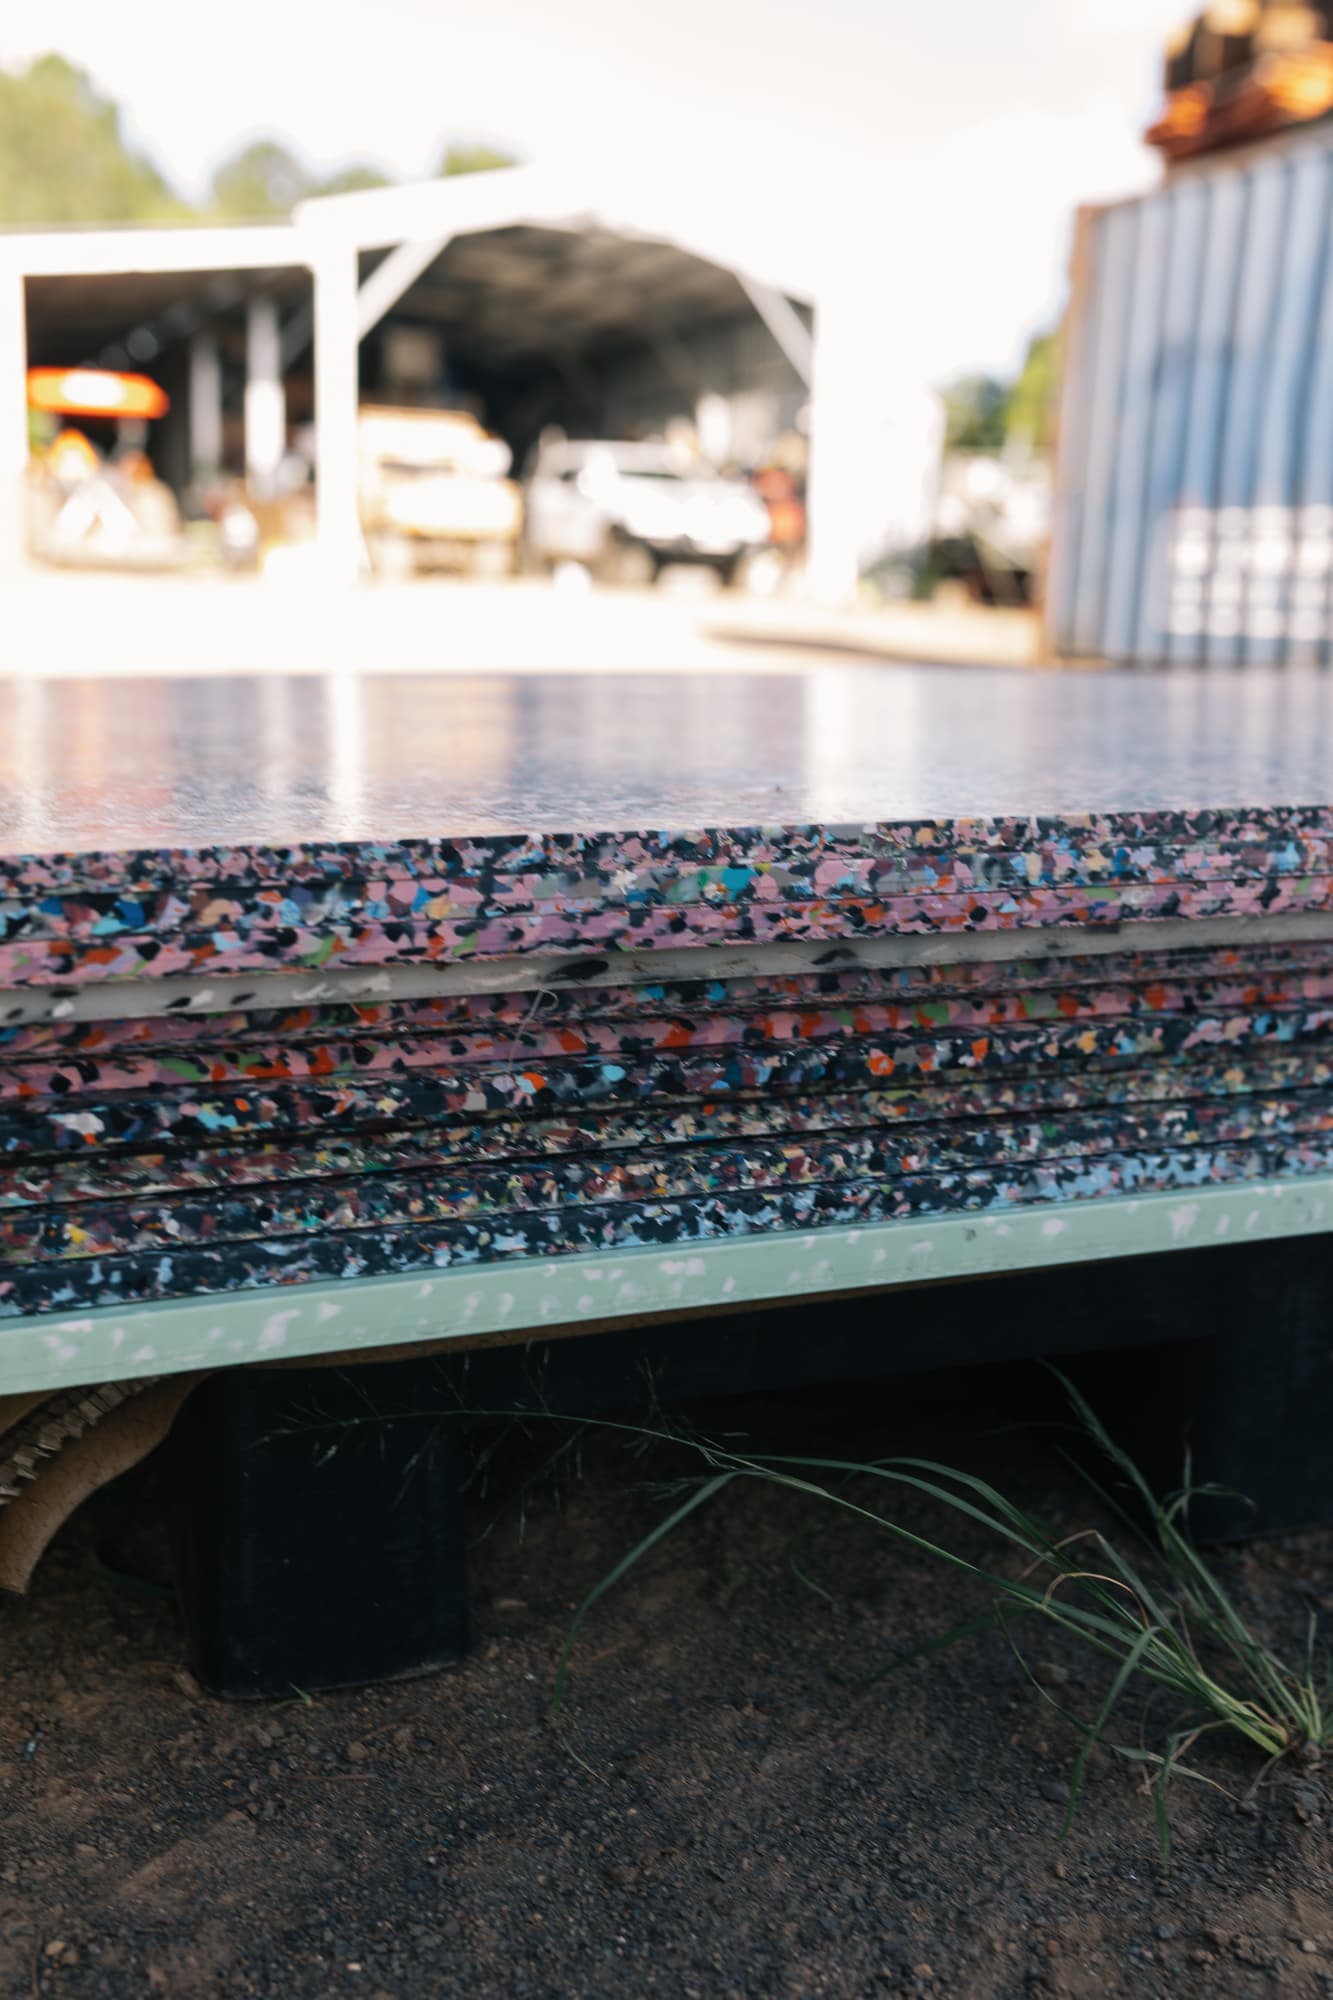
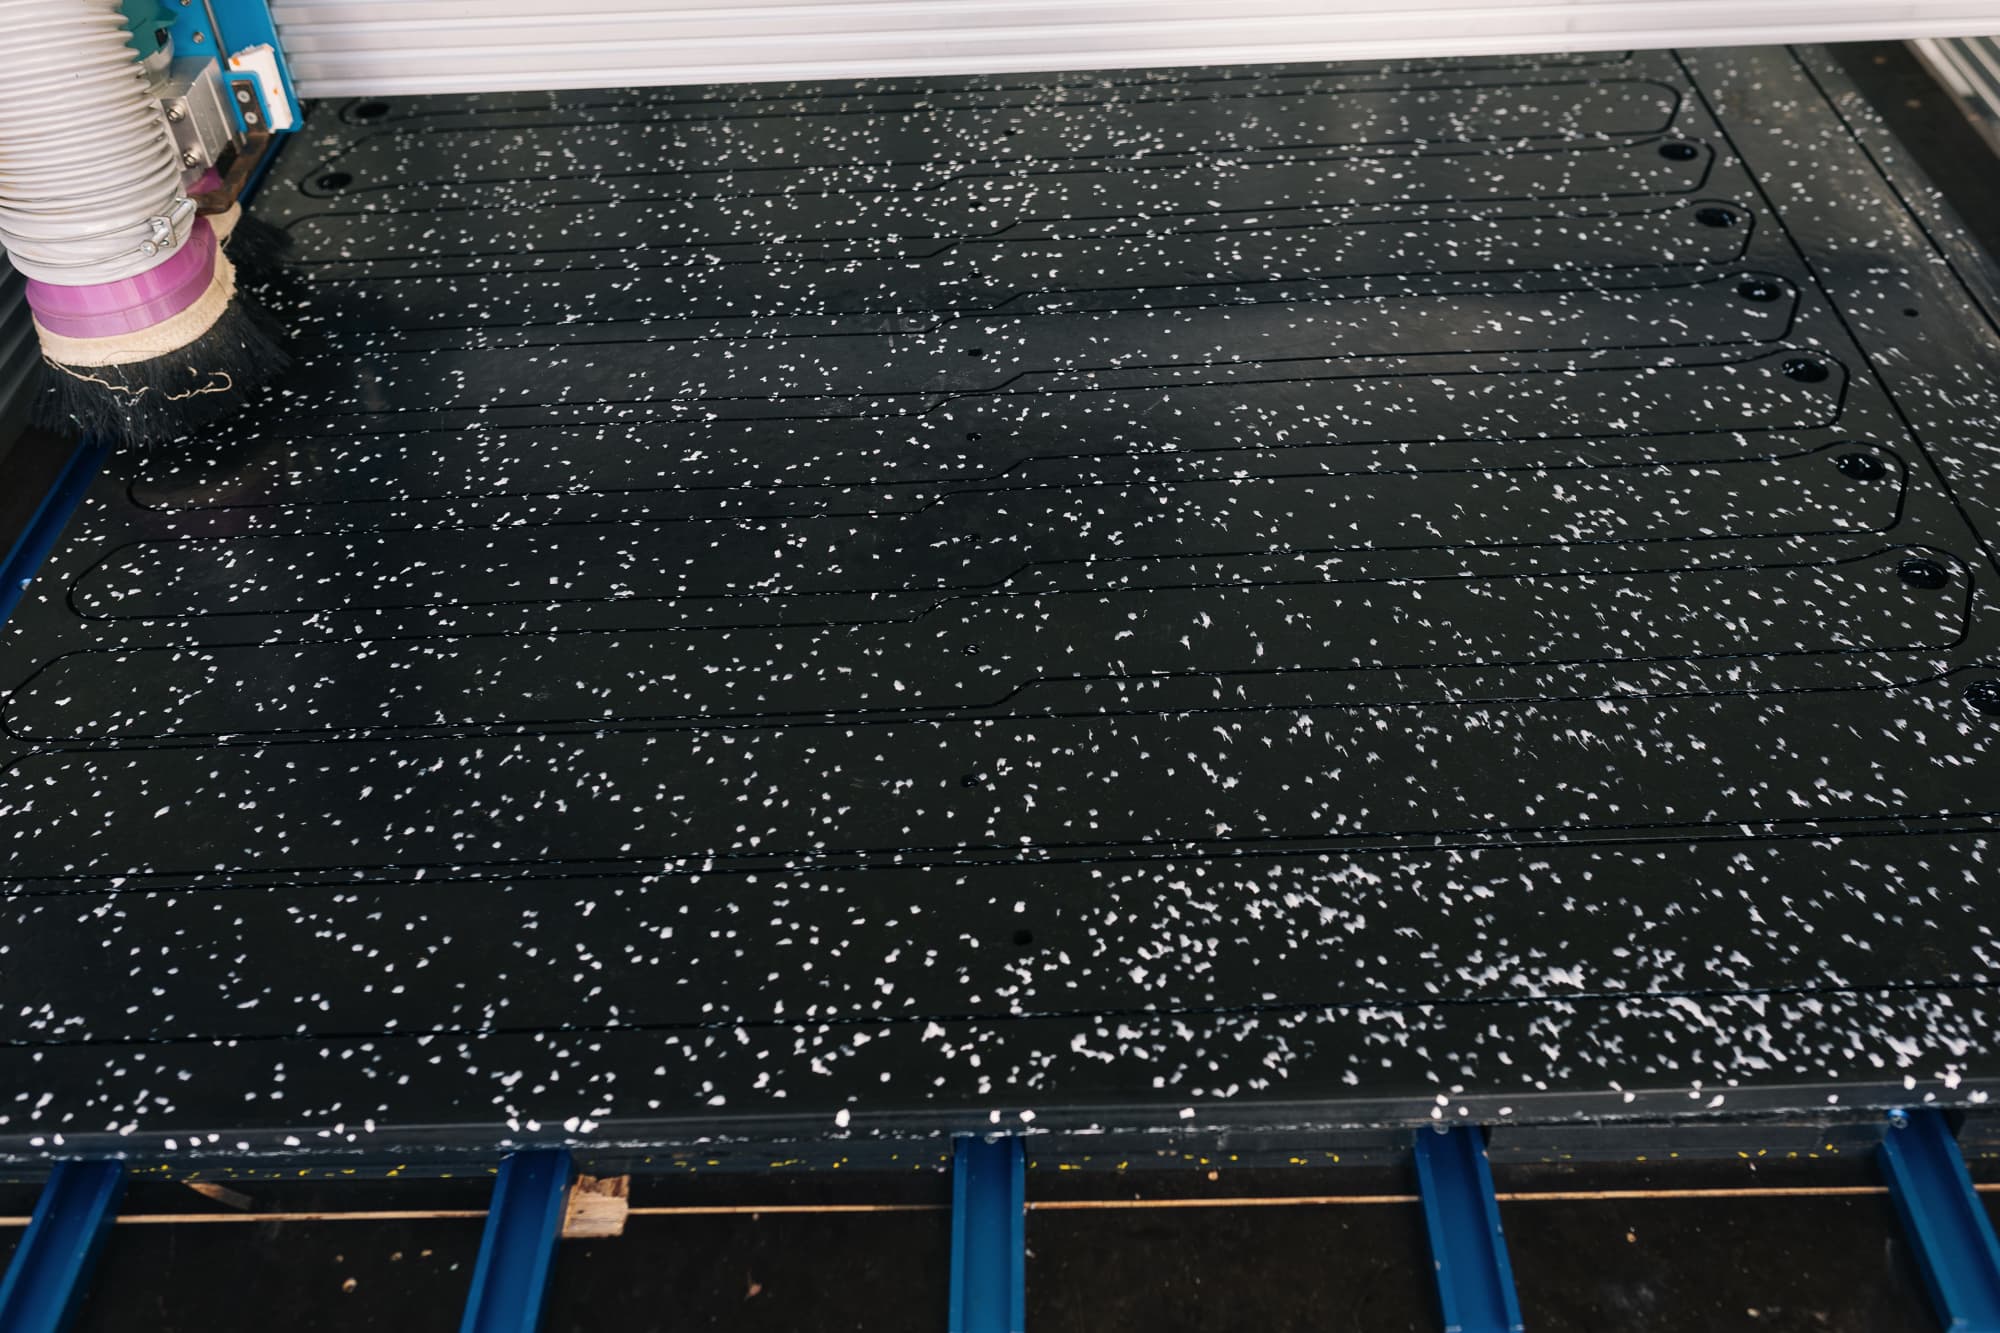
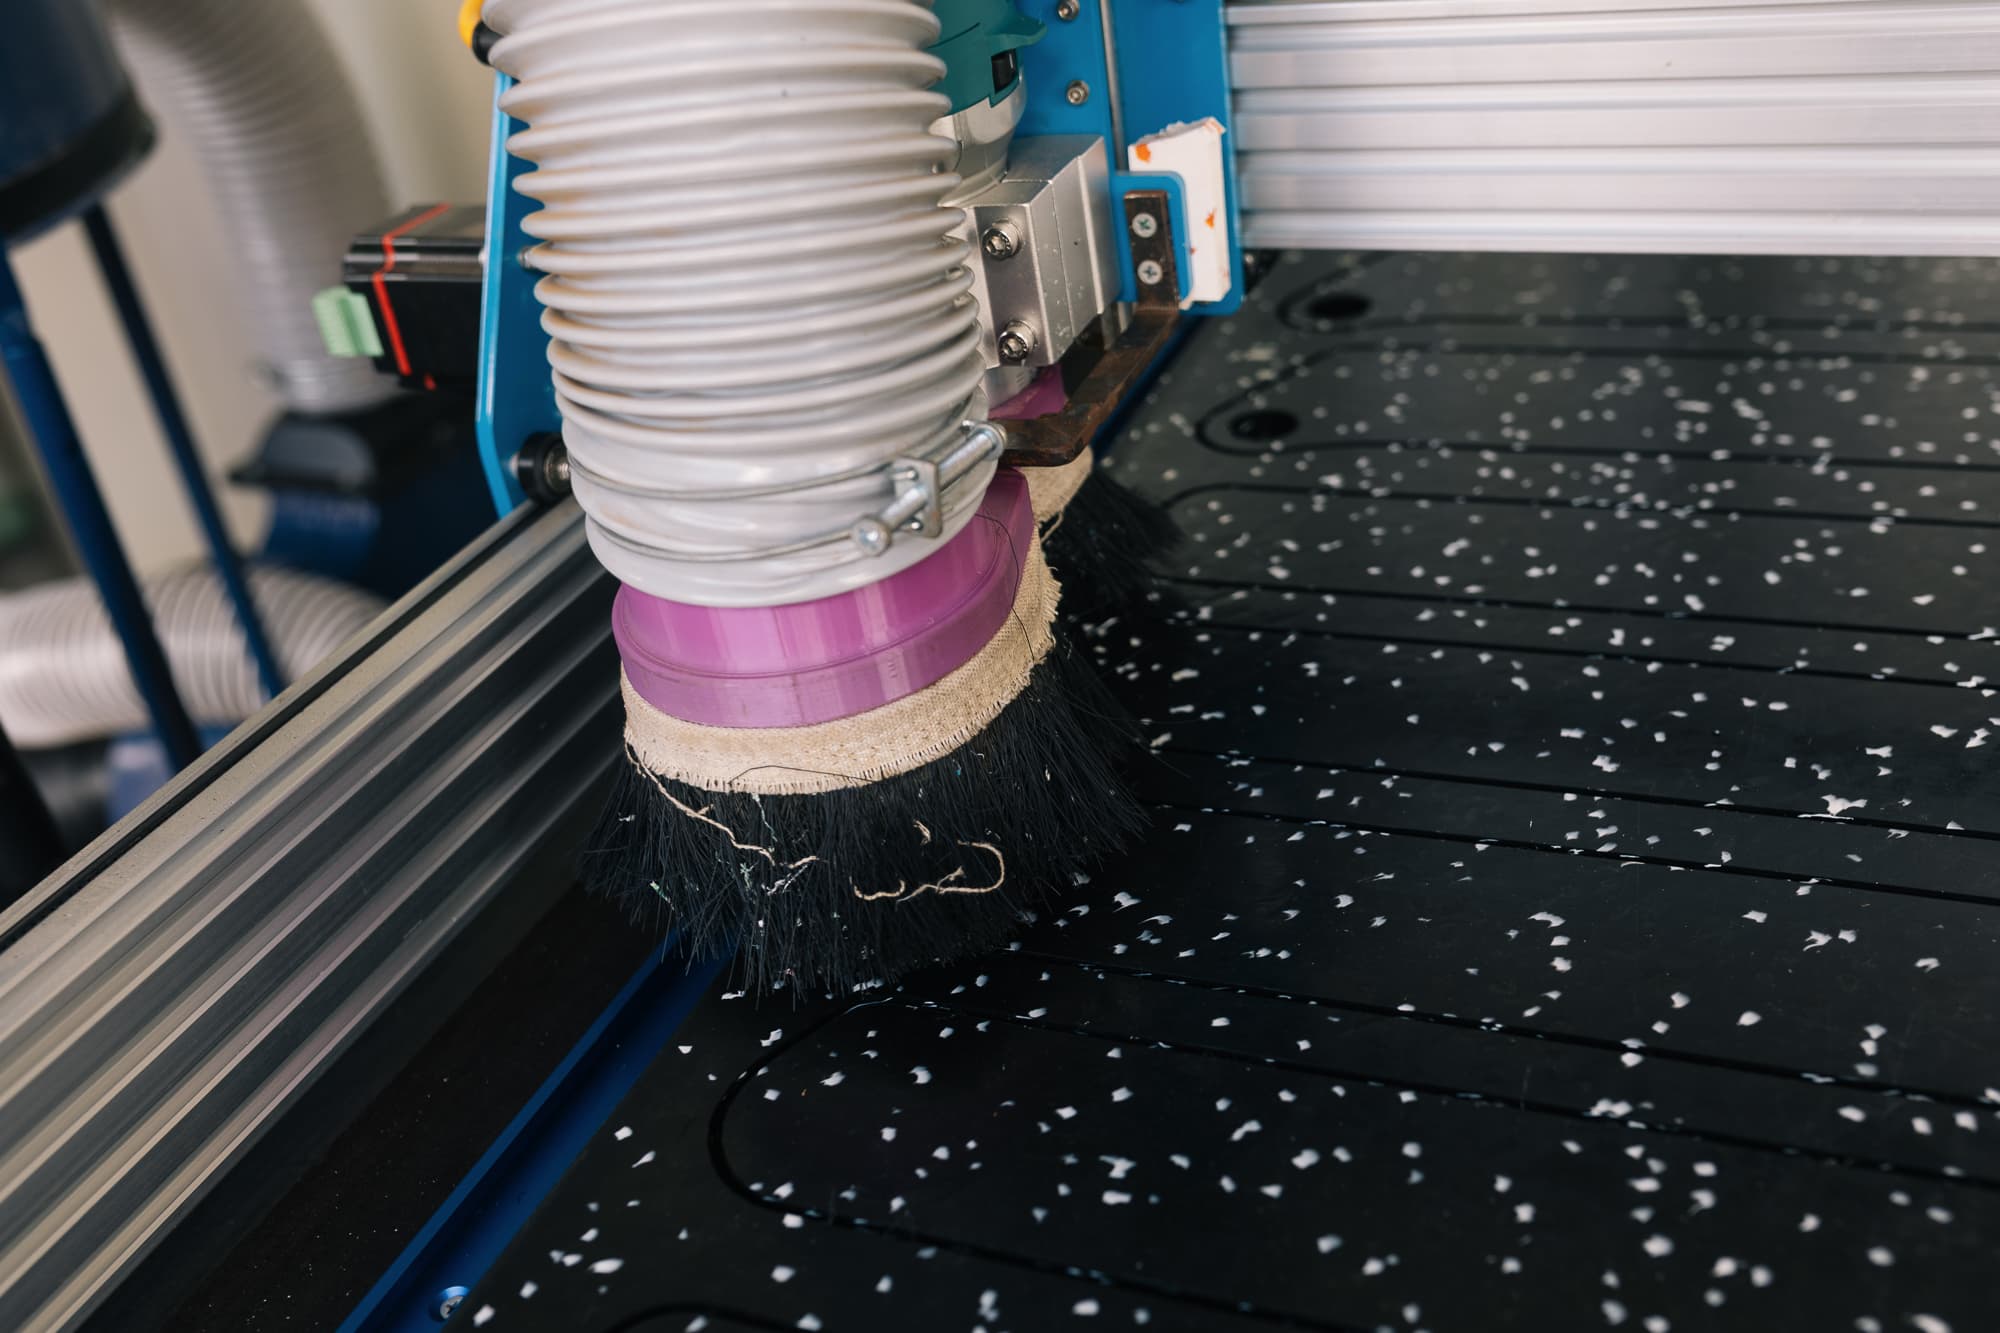
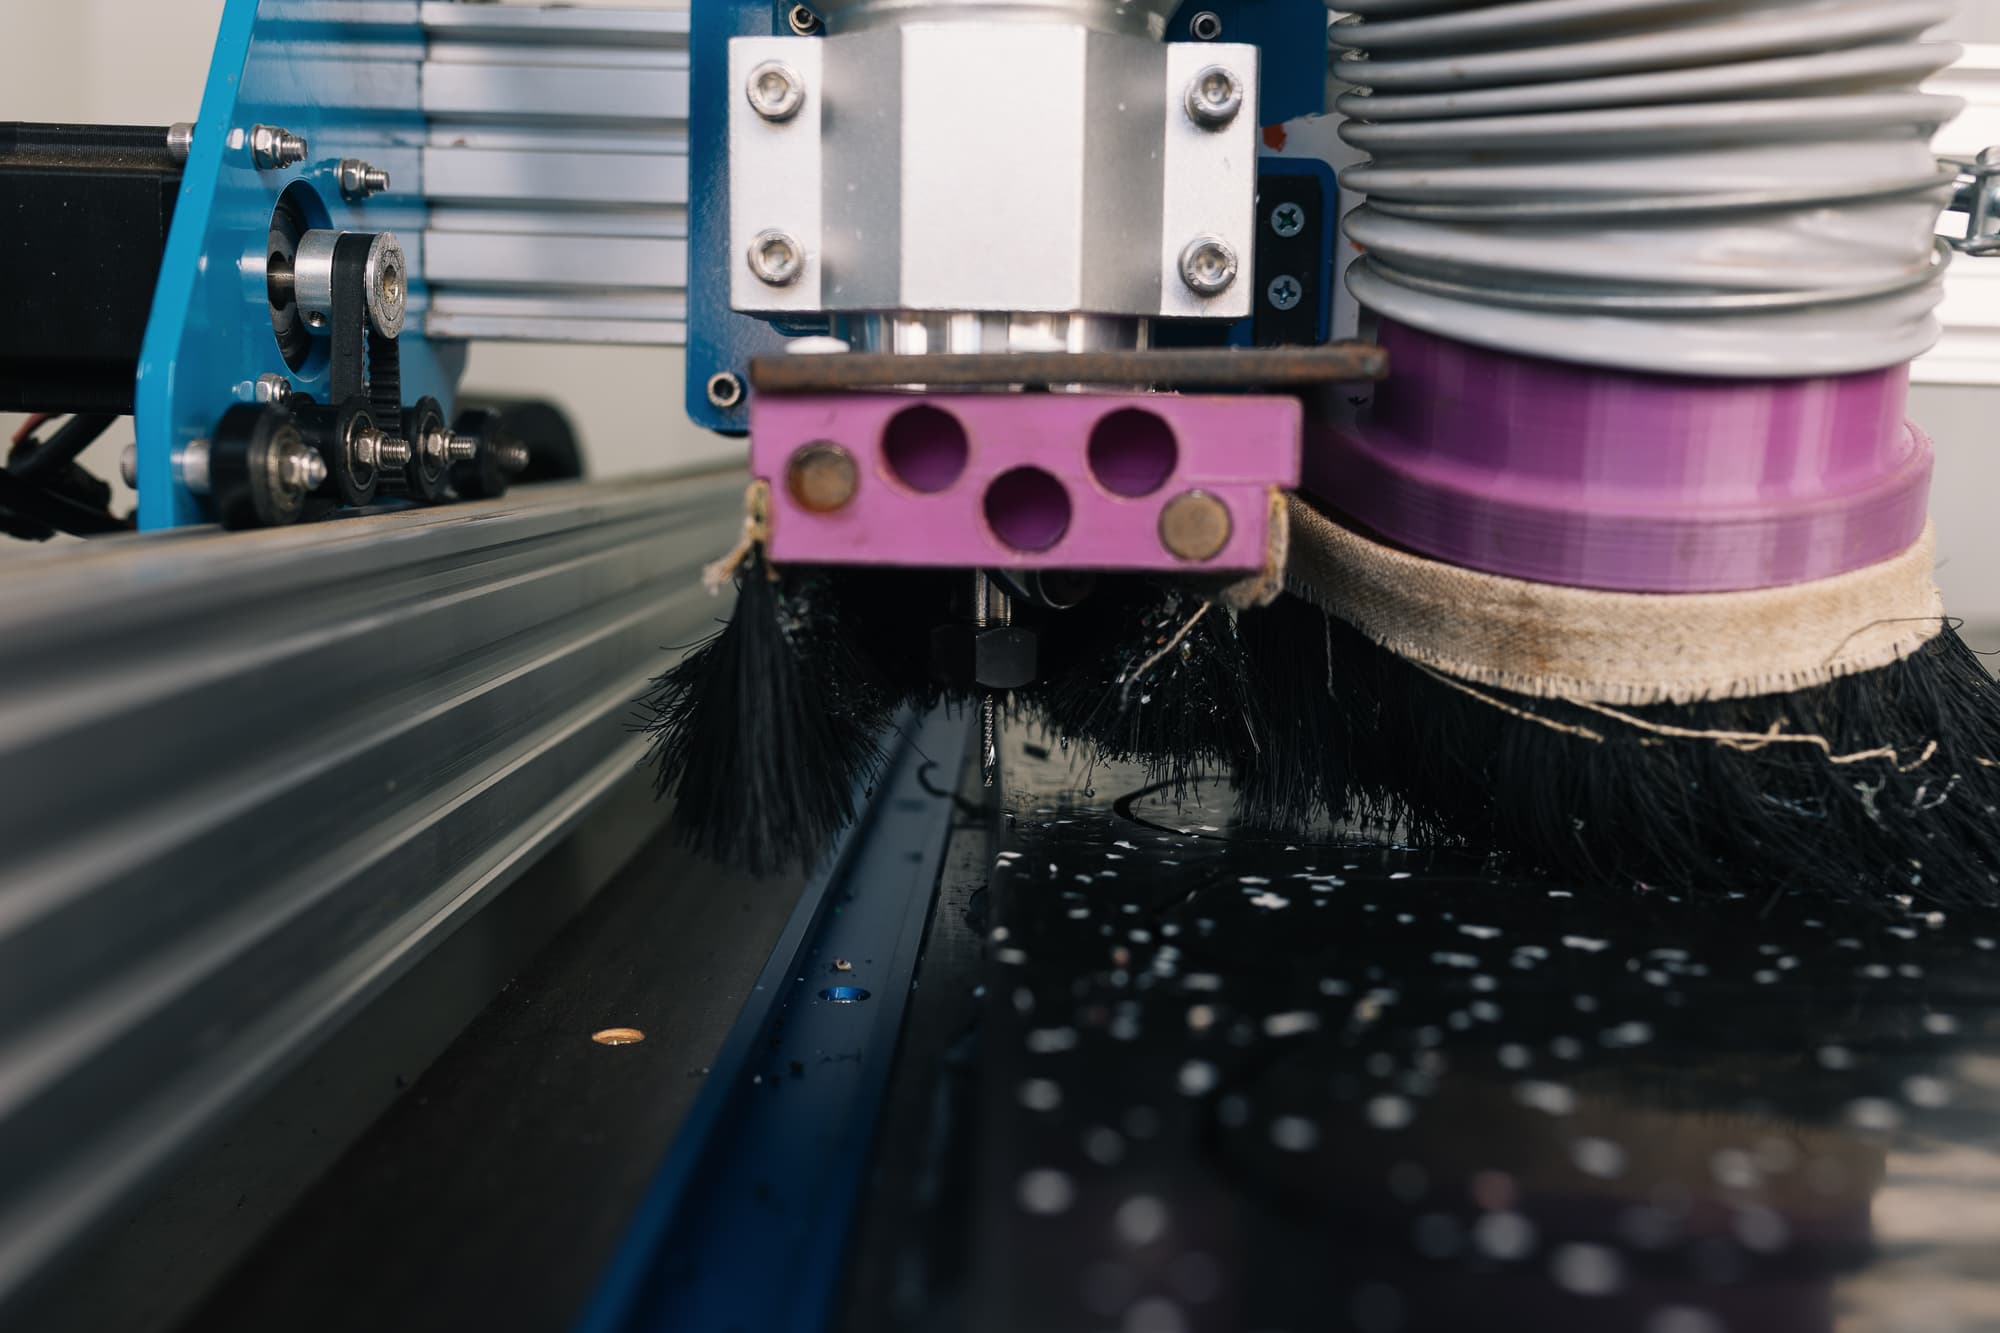
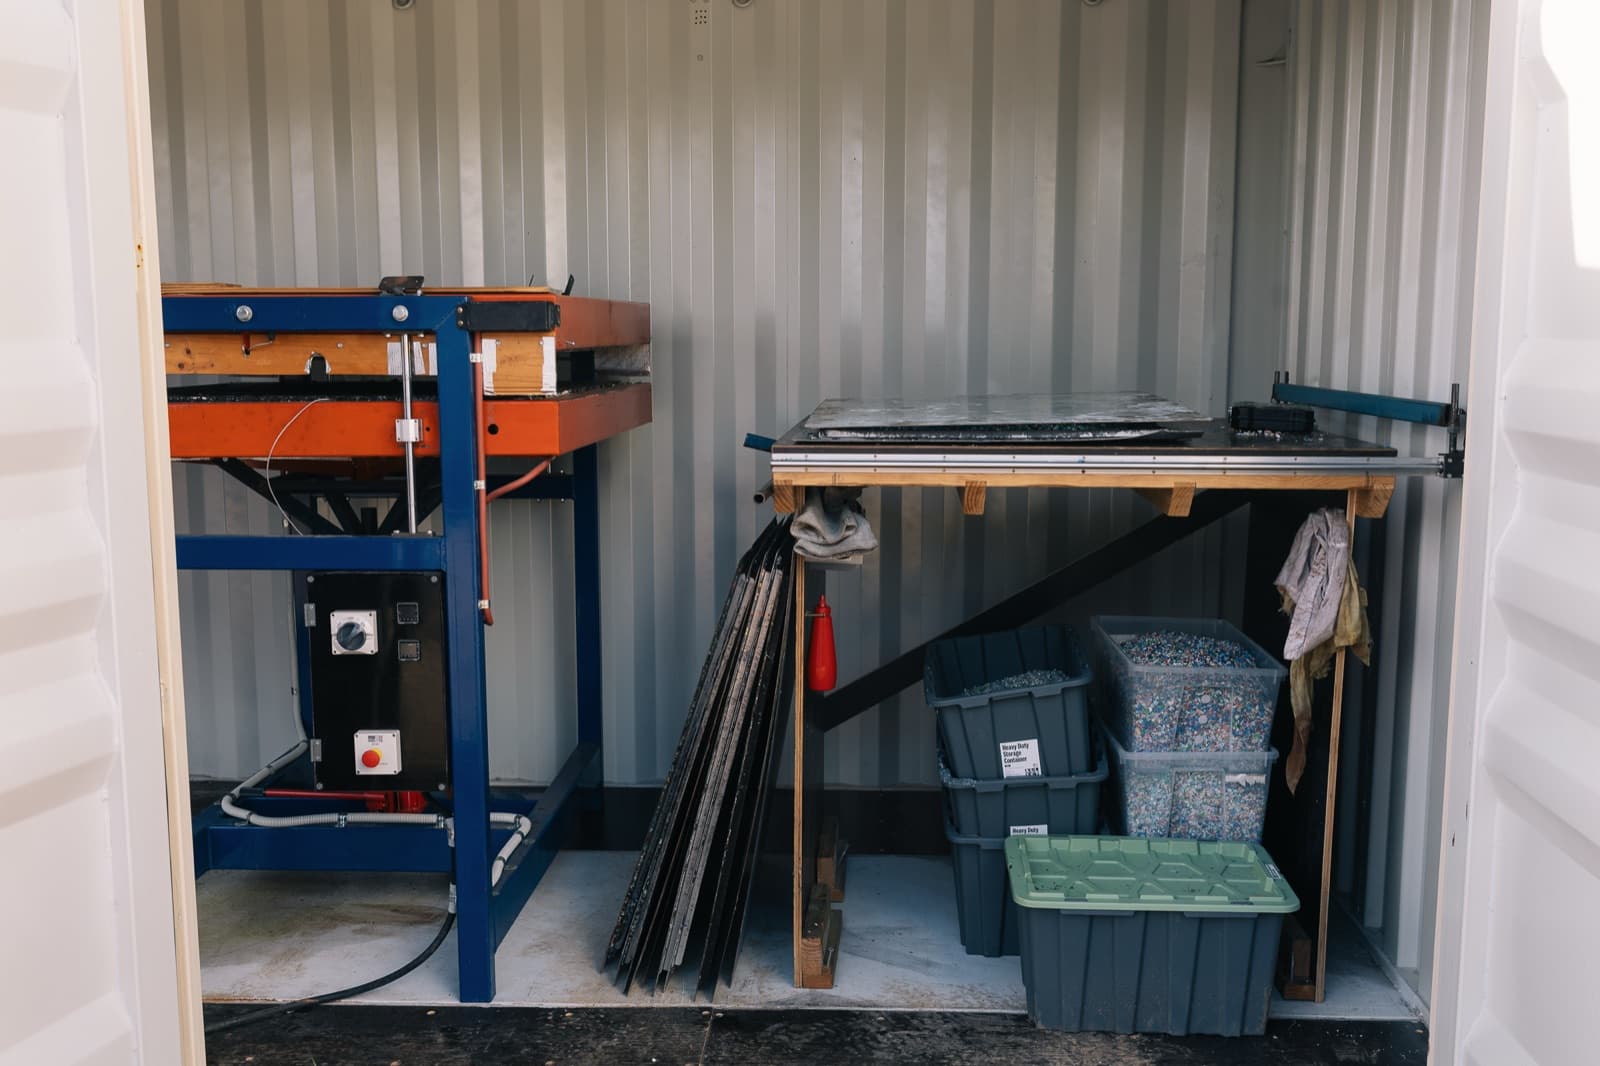
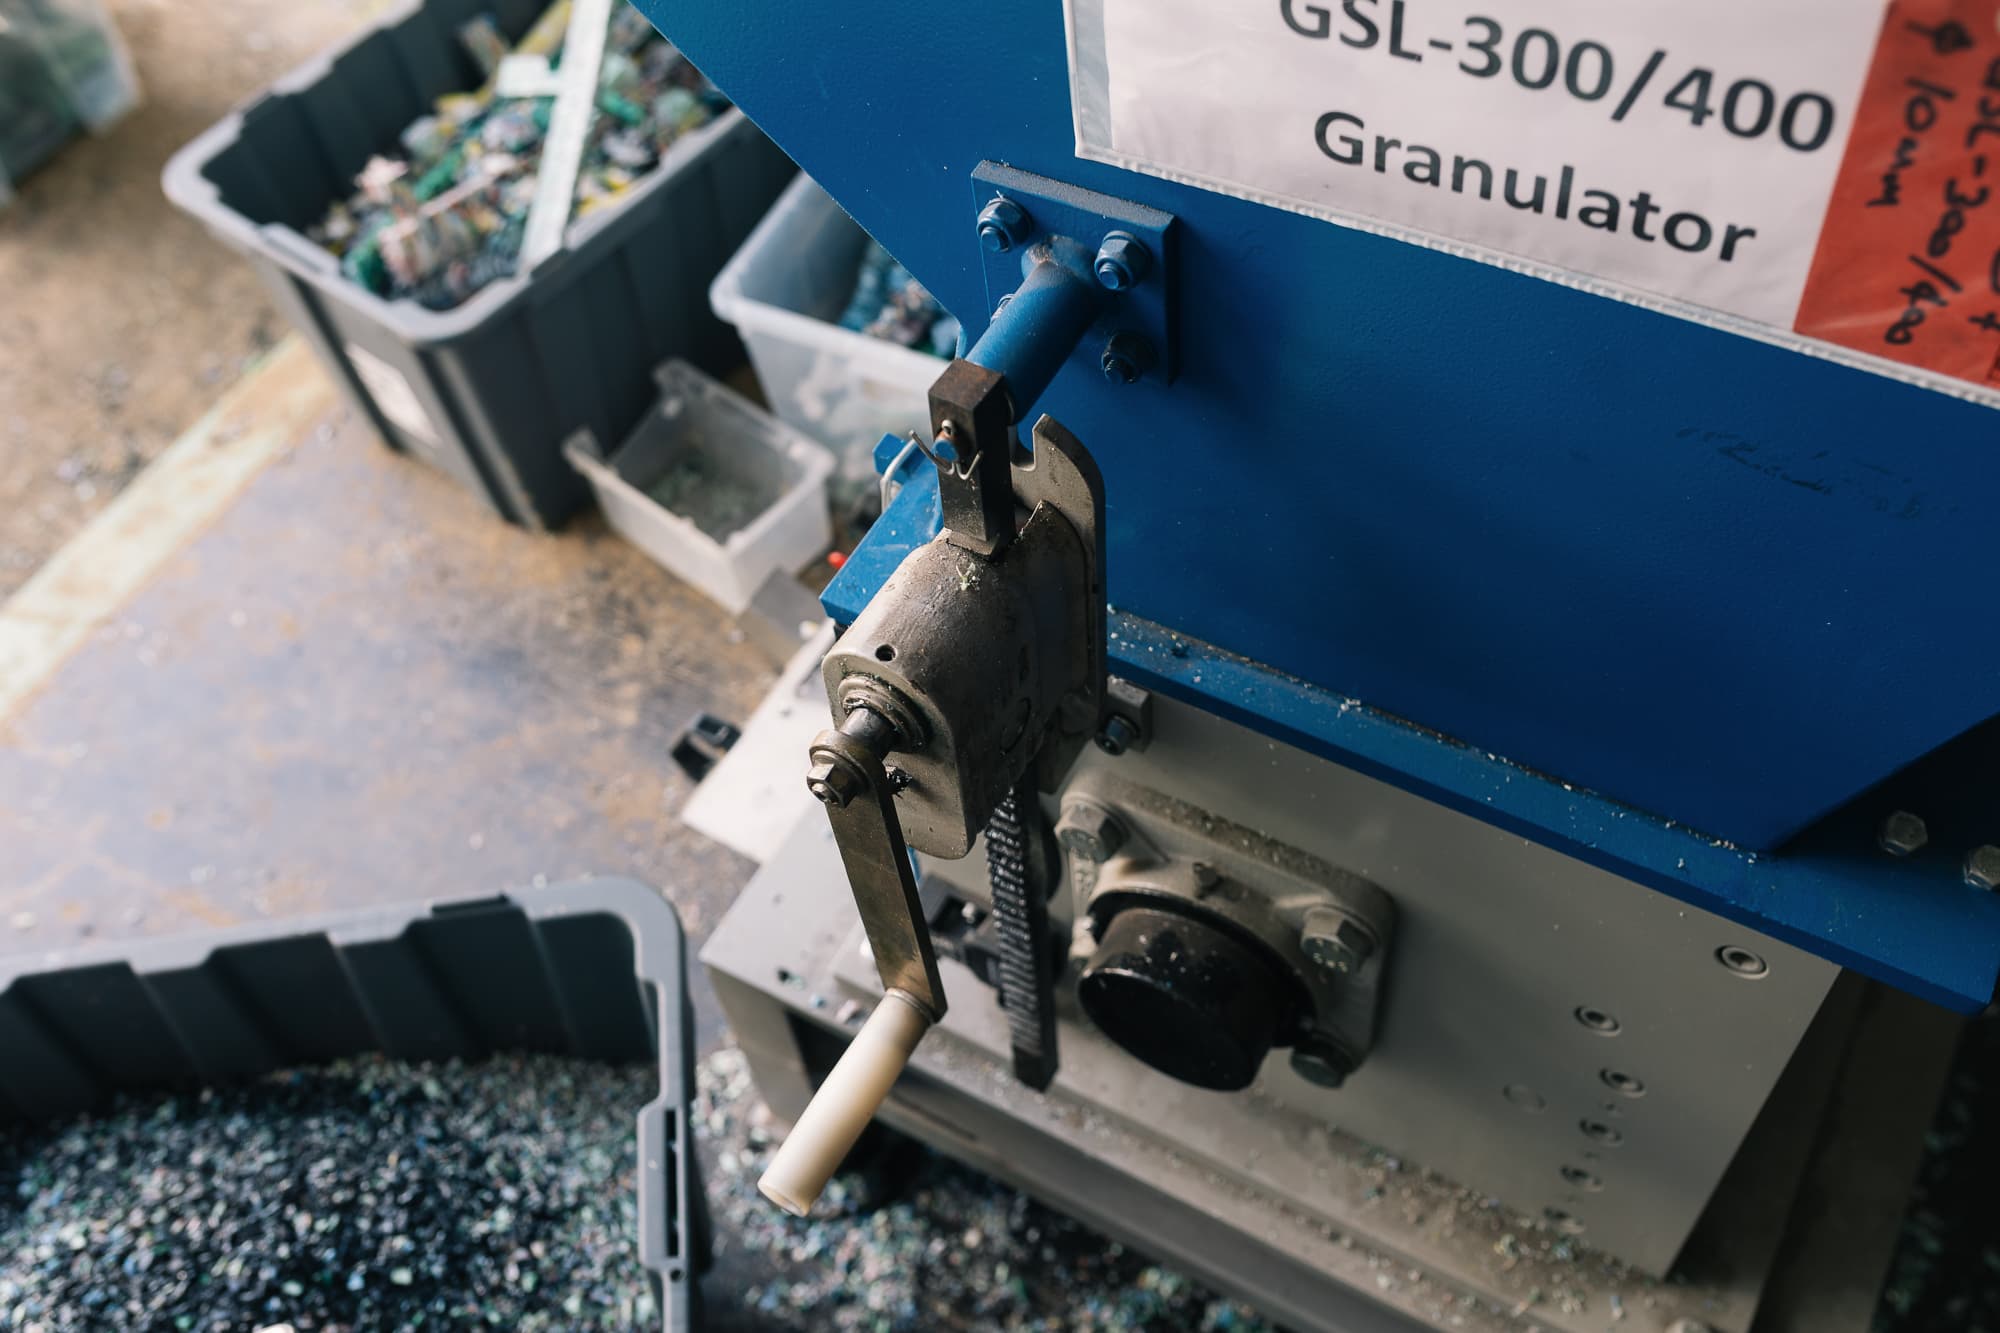
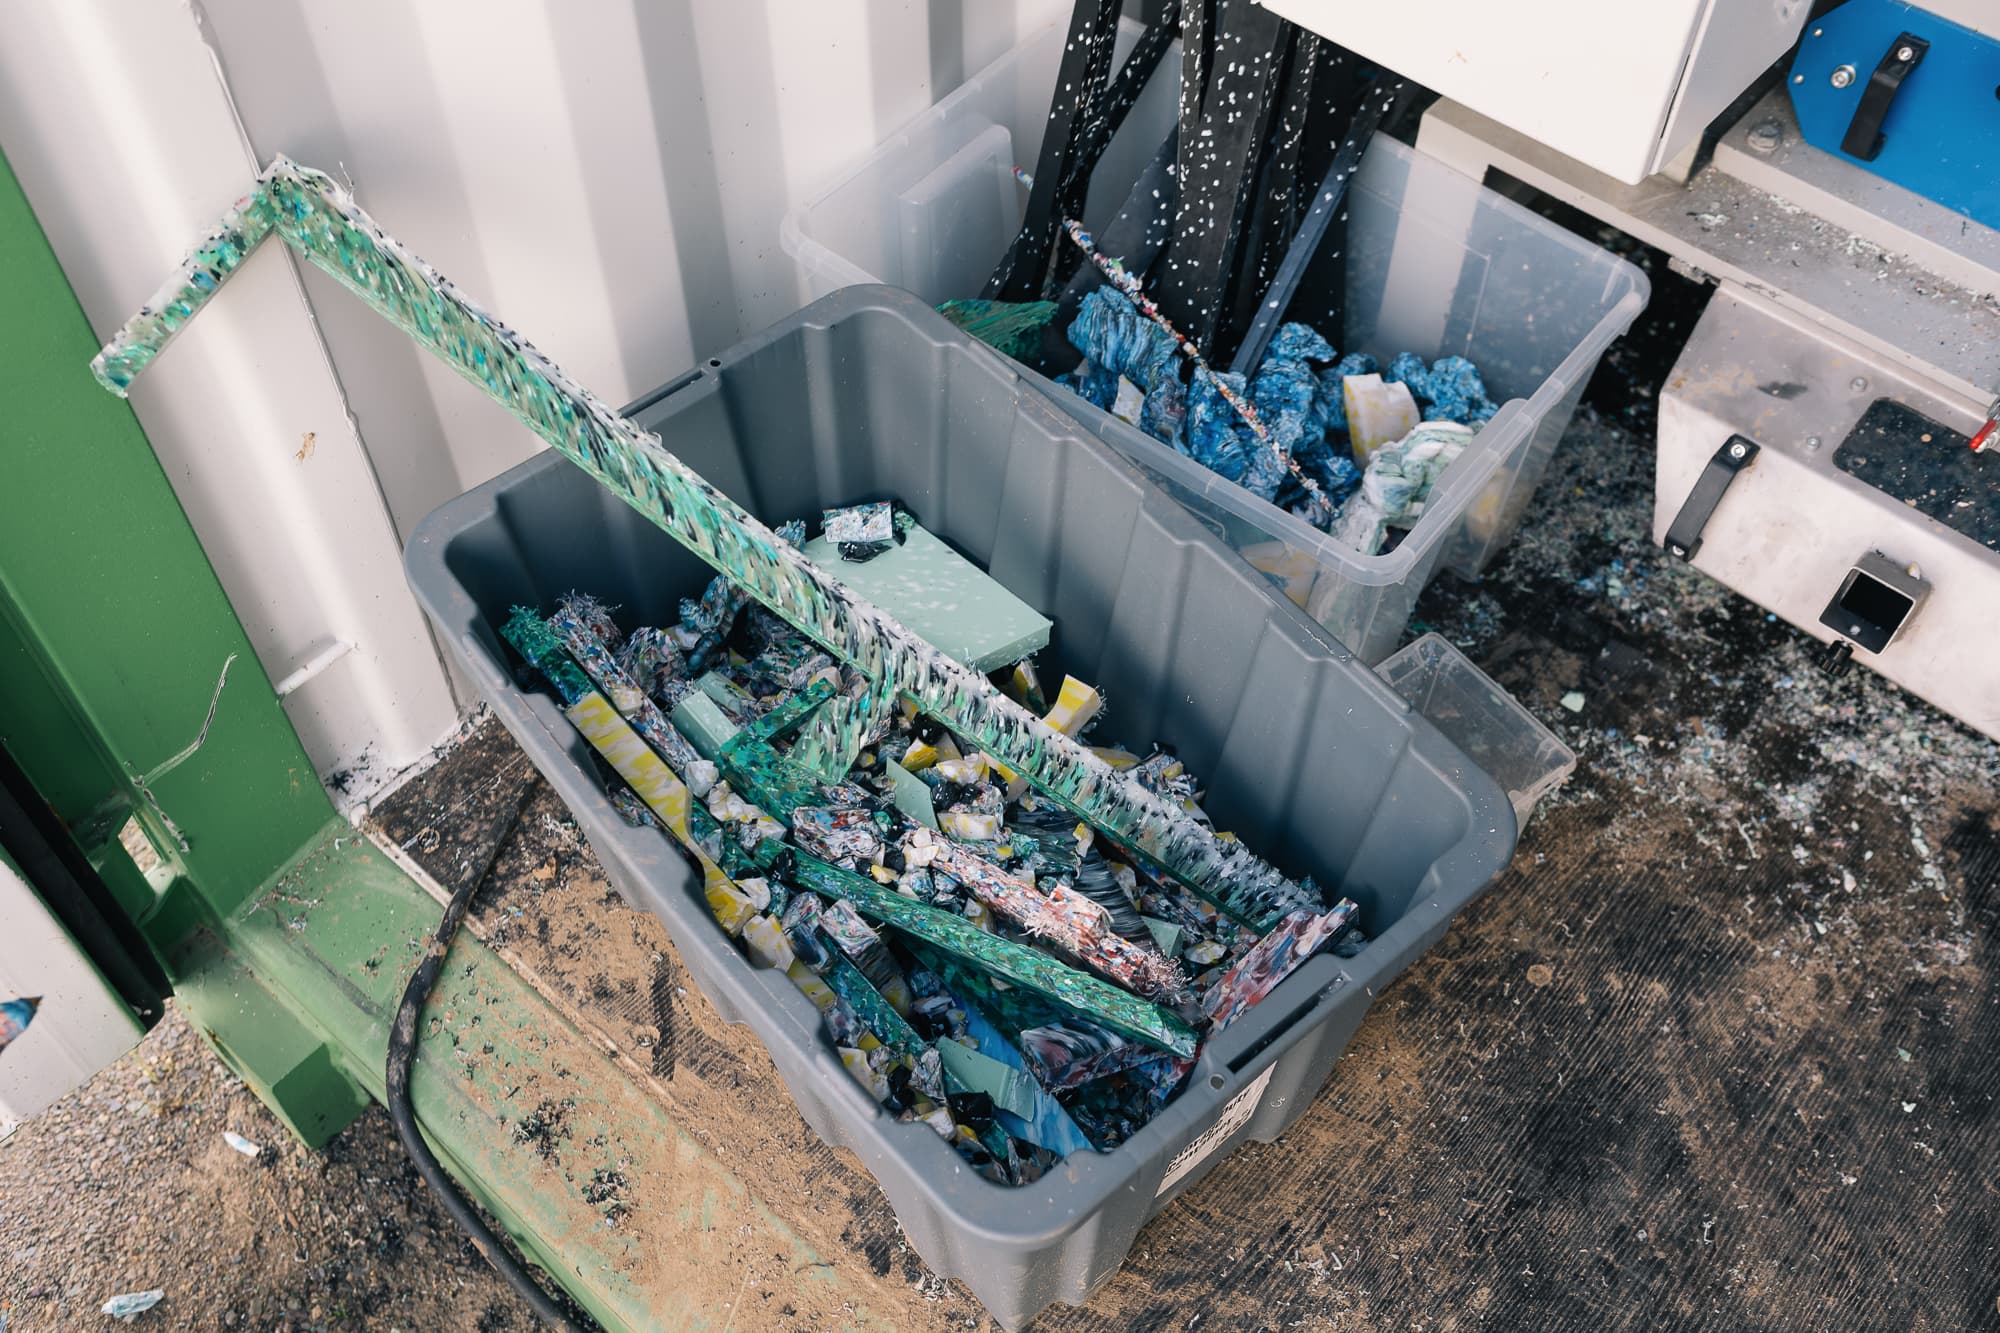
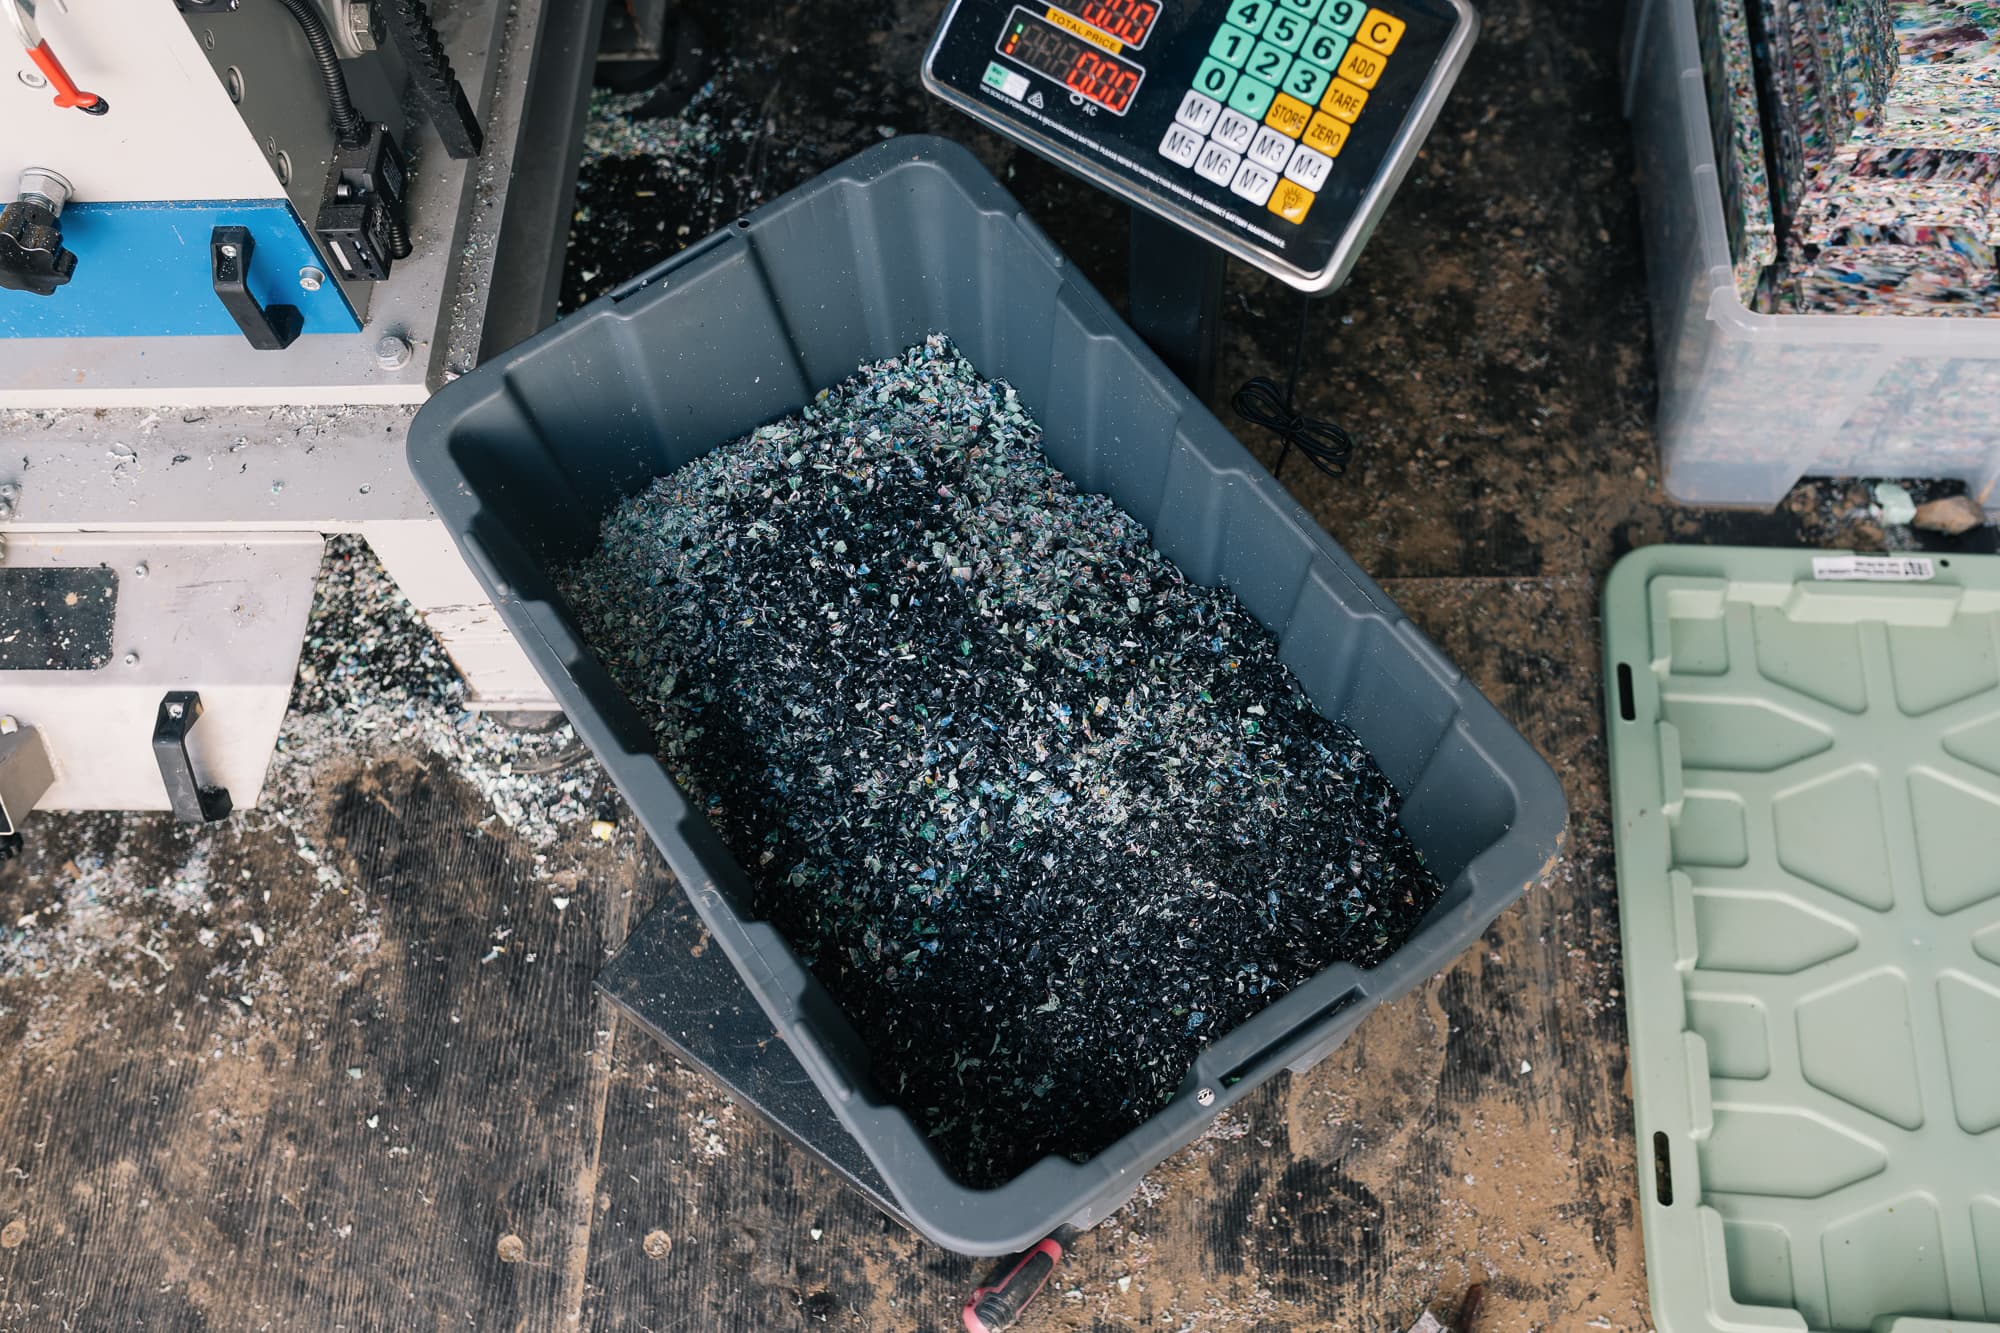
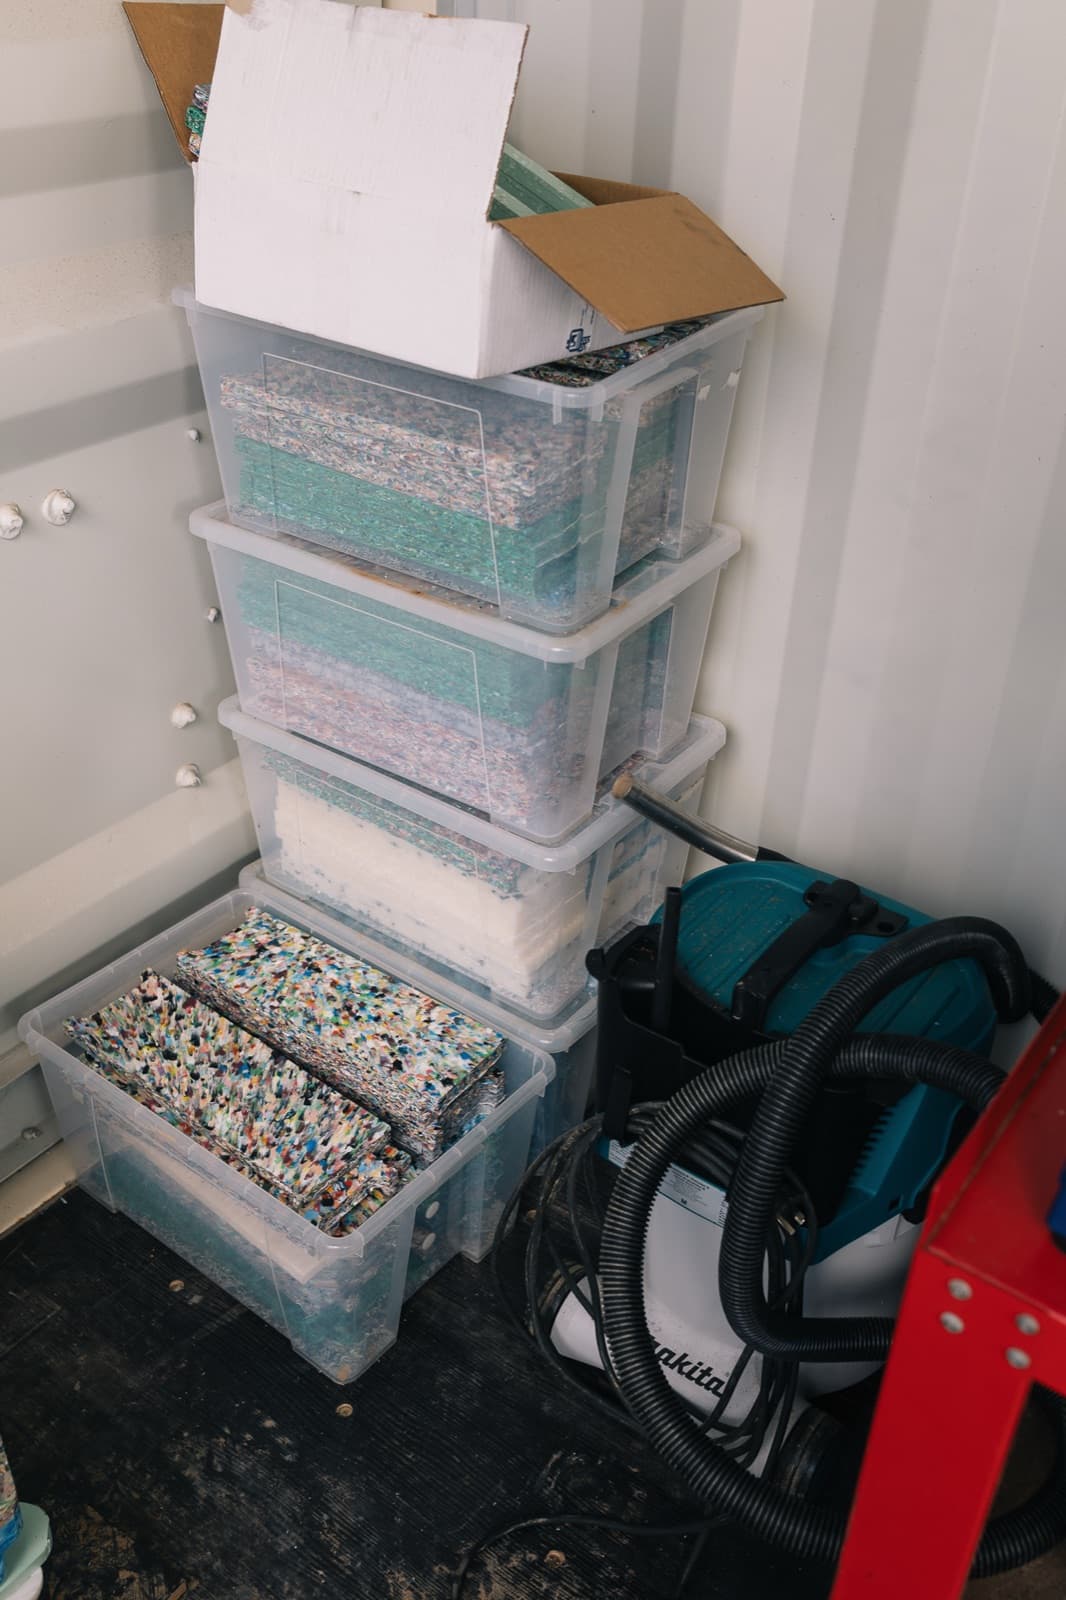
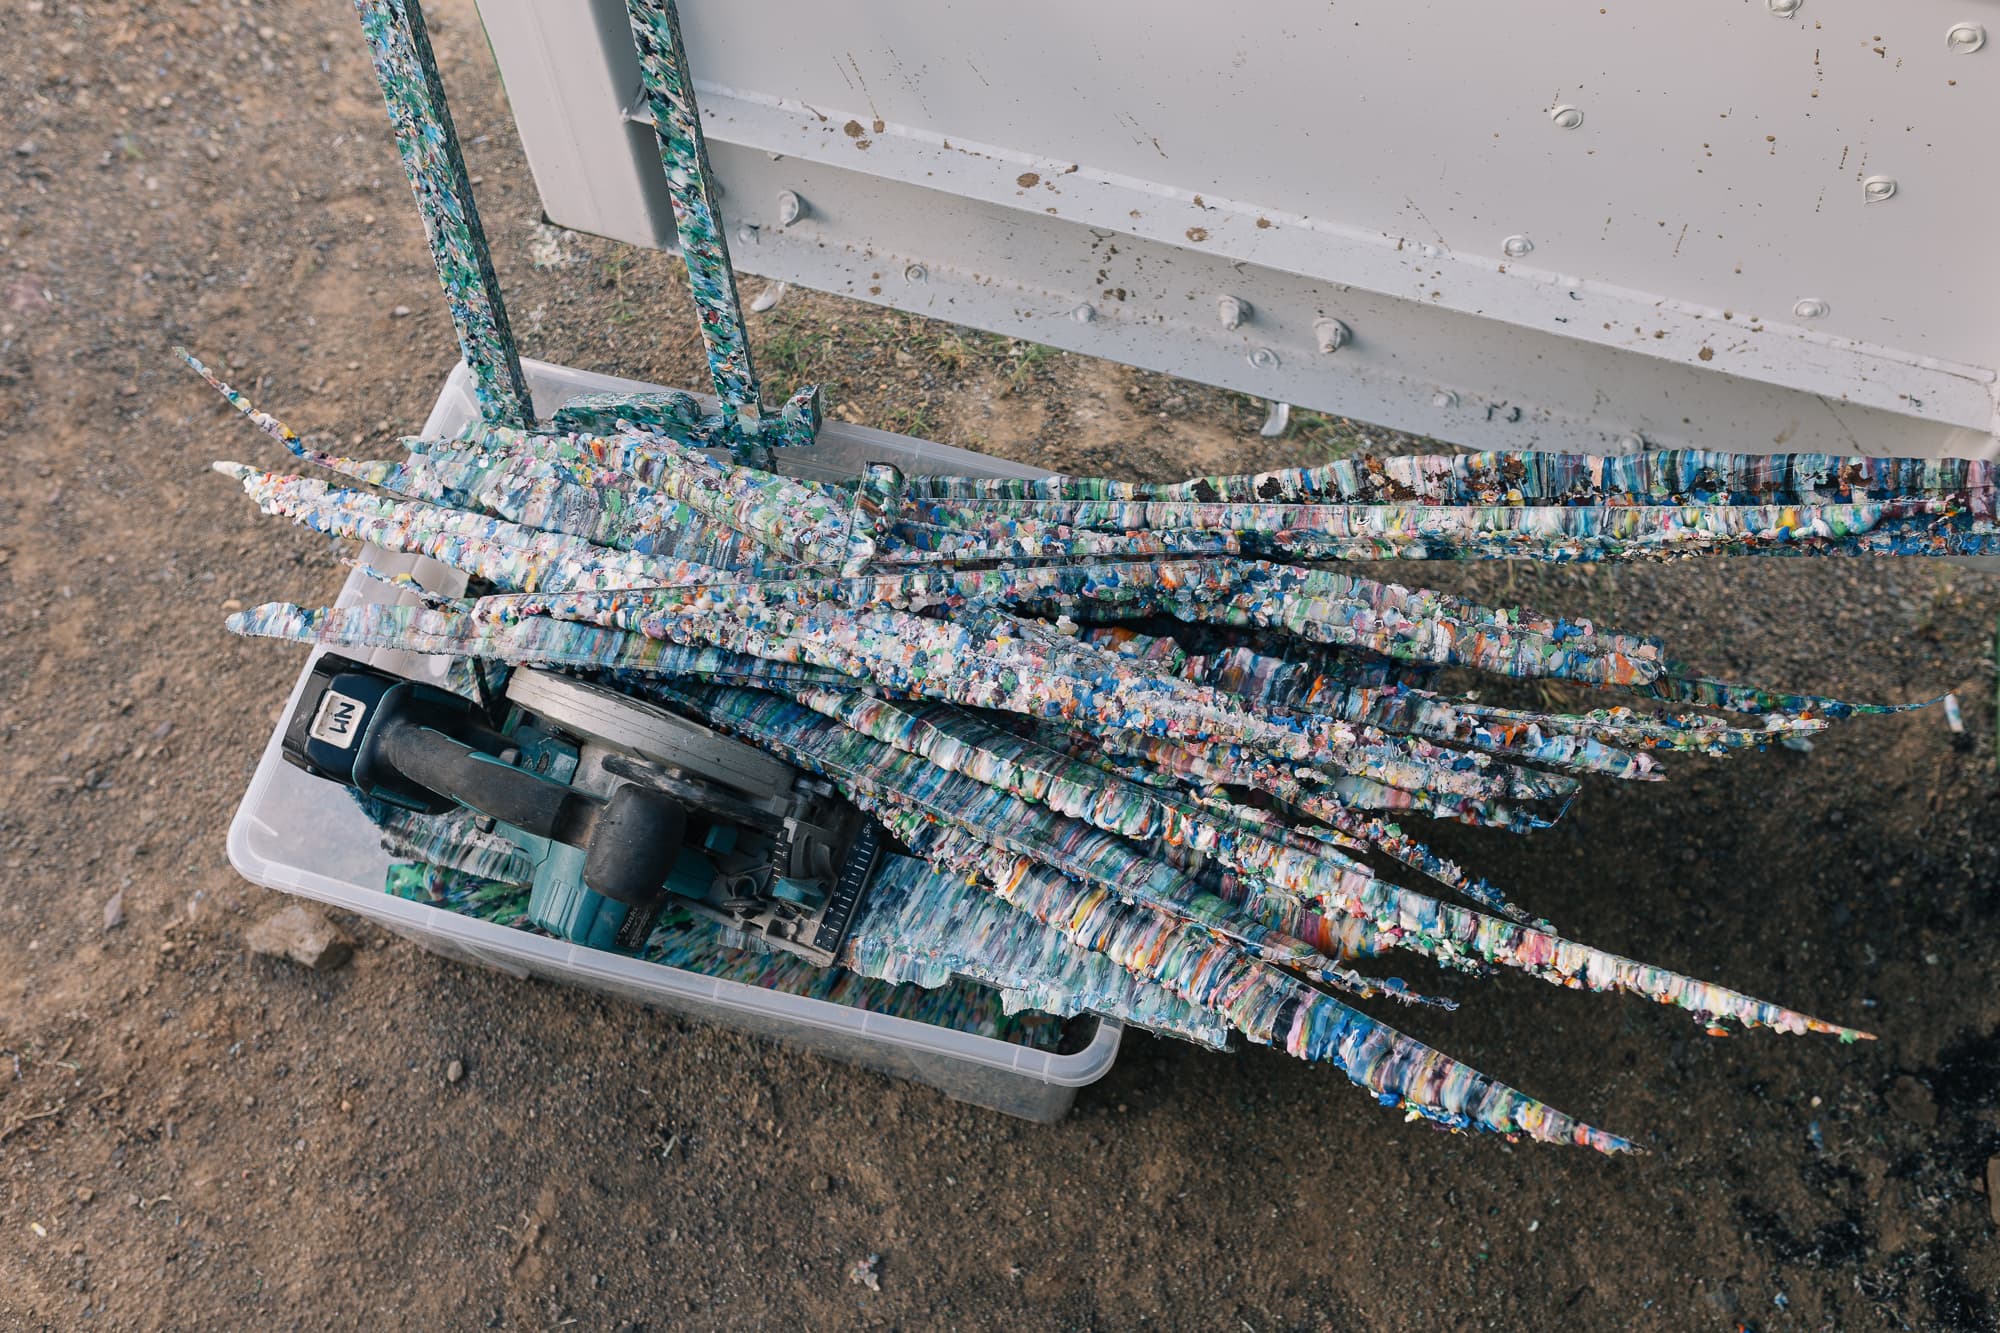
Plastic Shredding
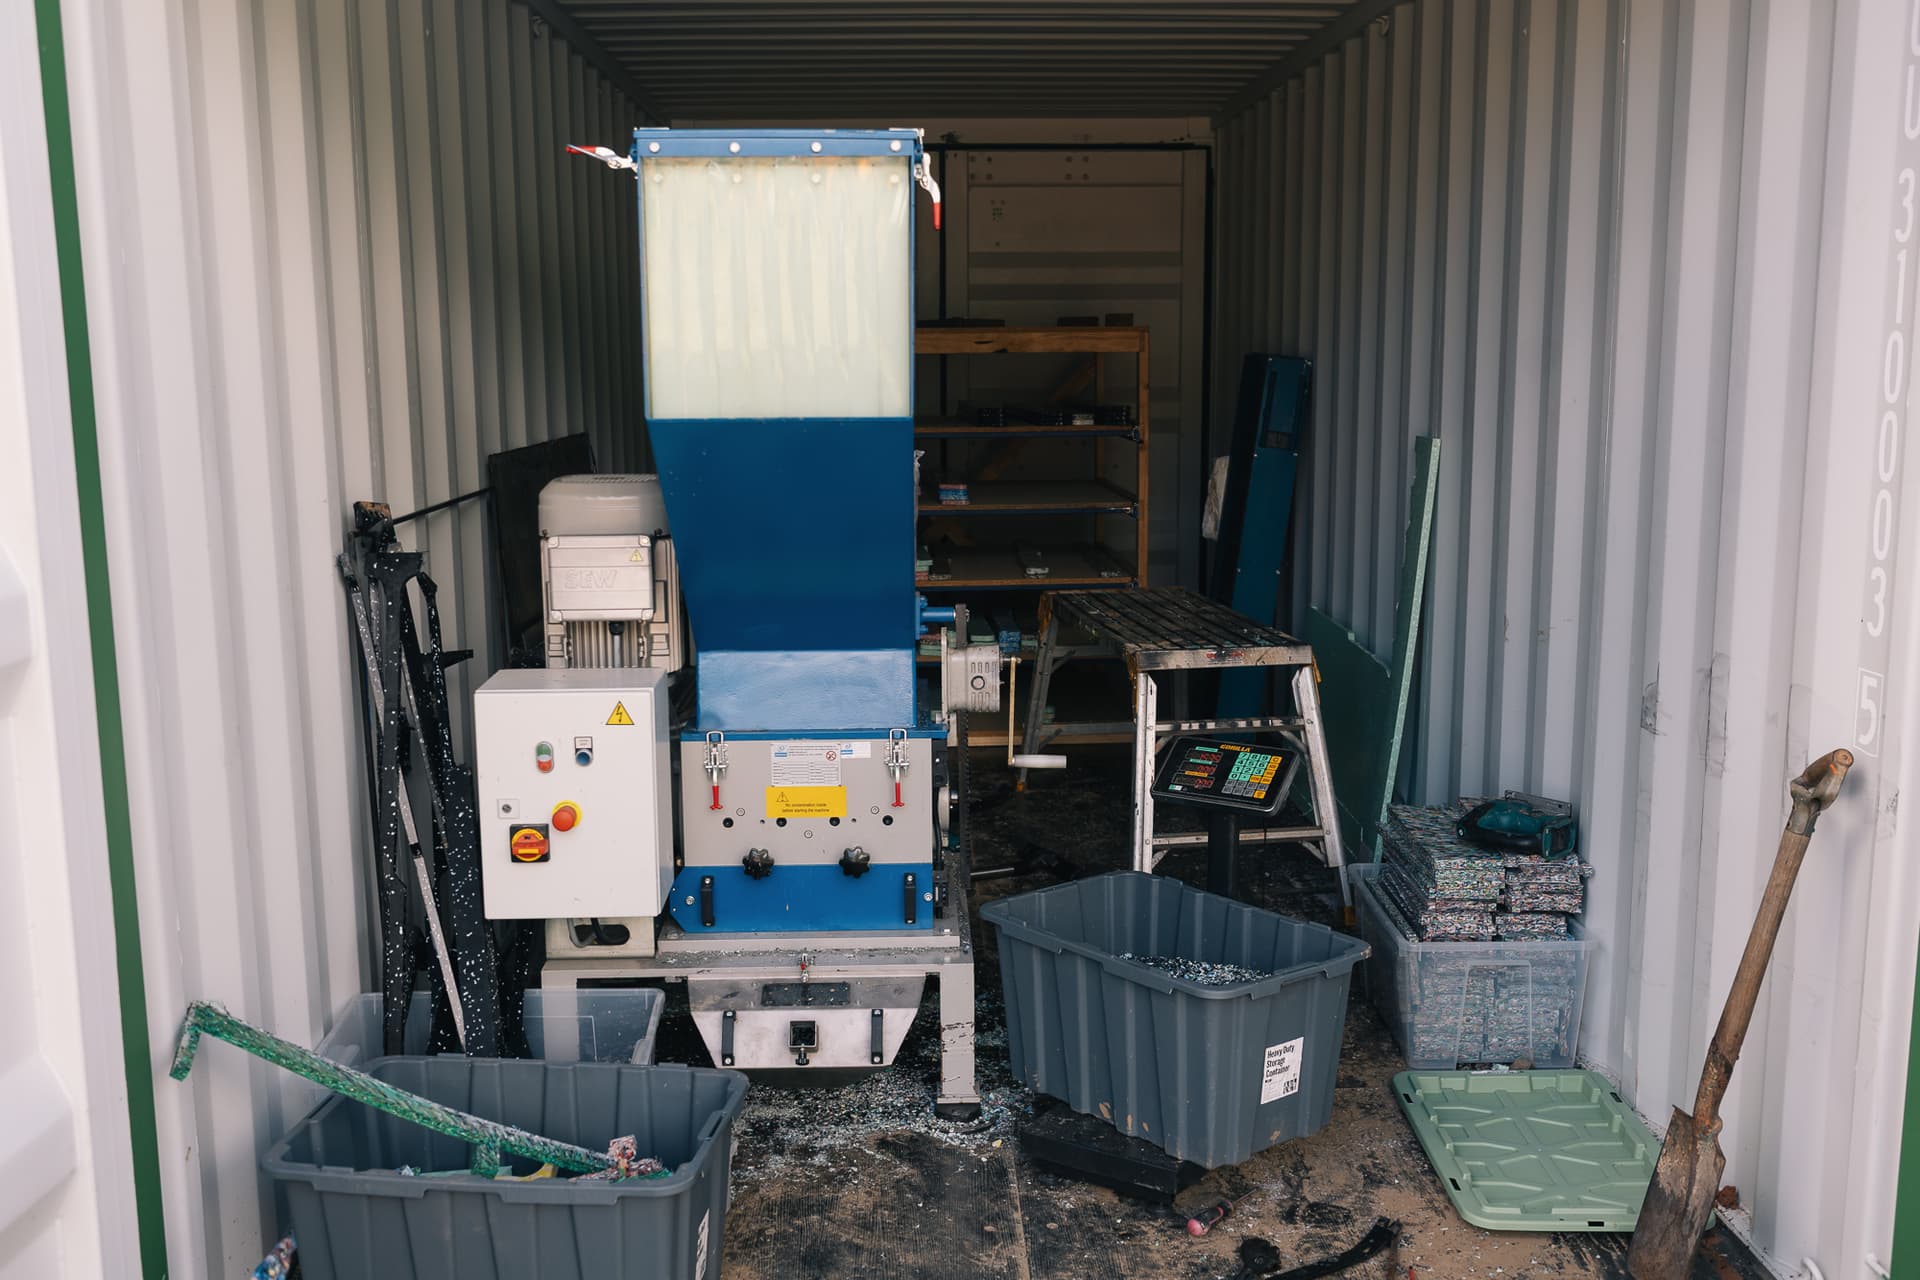
Purpose: Reduce plastic into pressable chips.
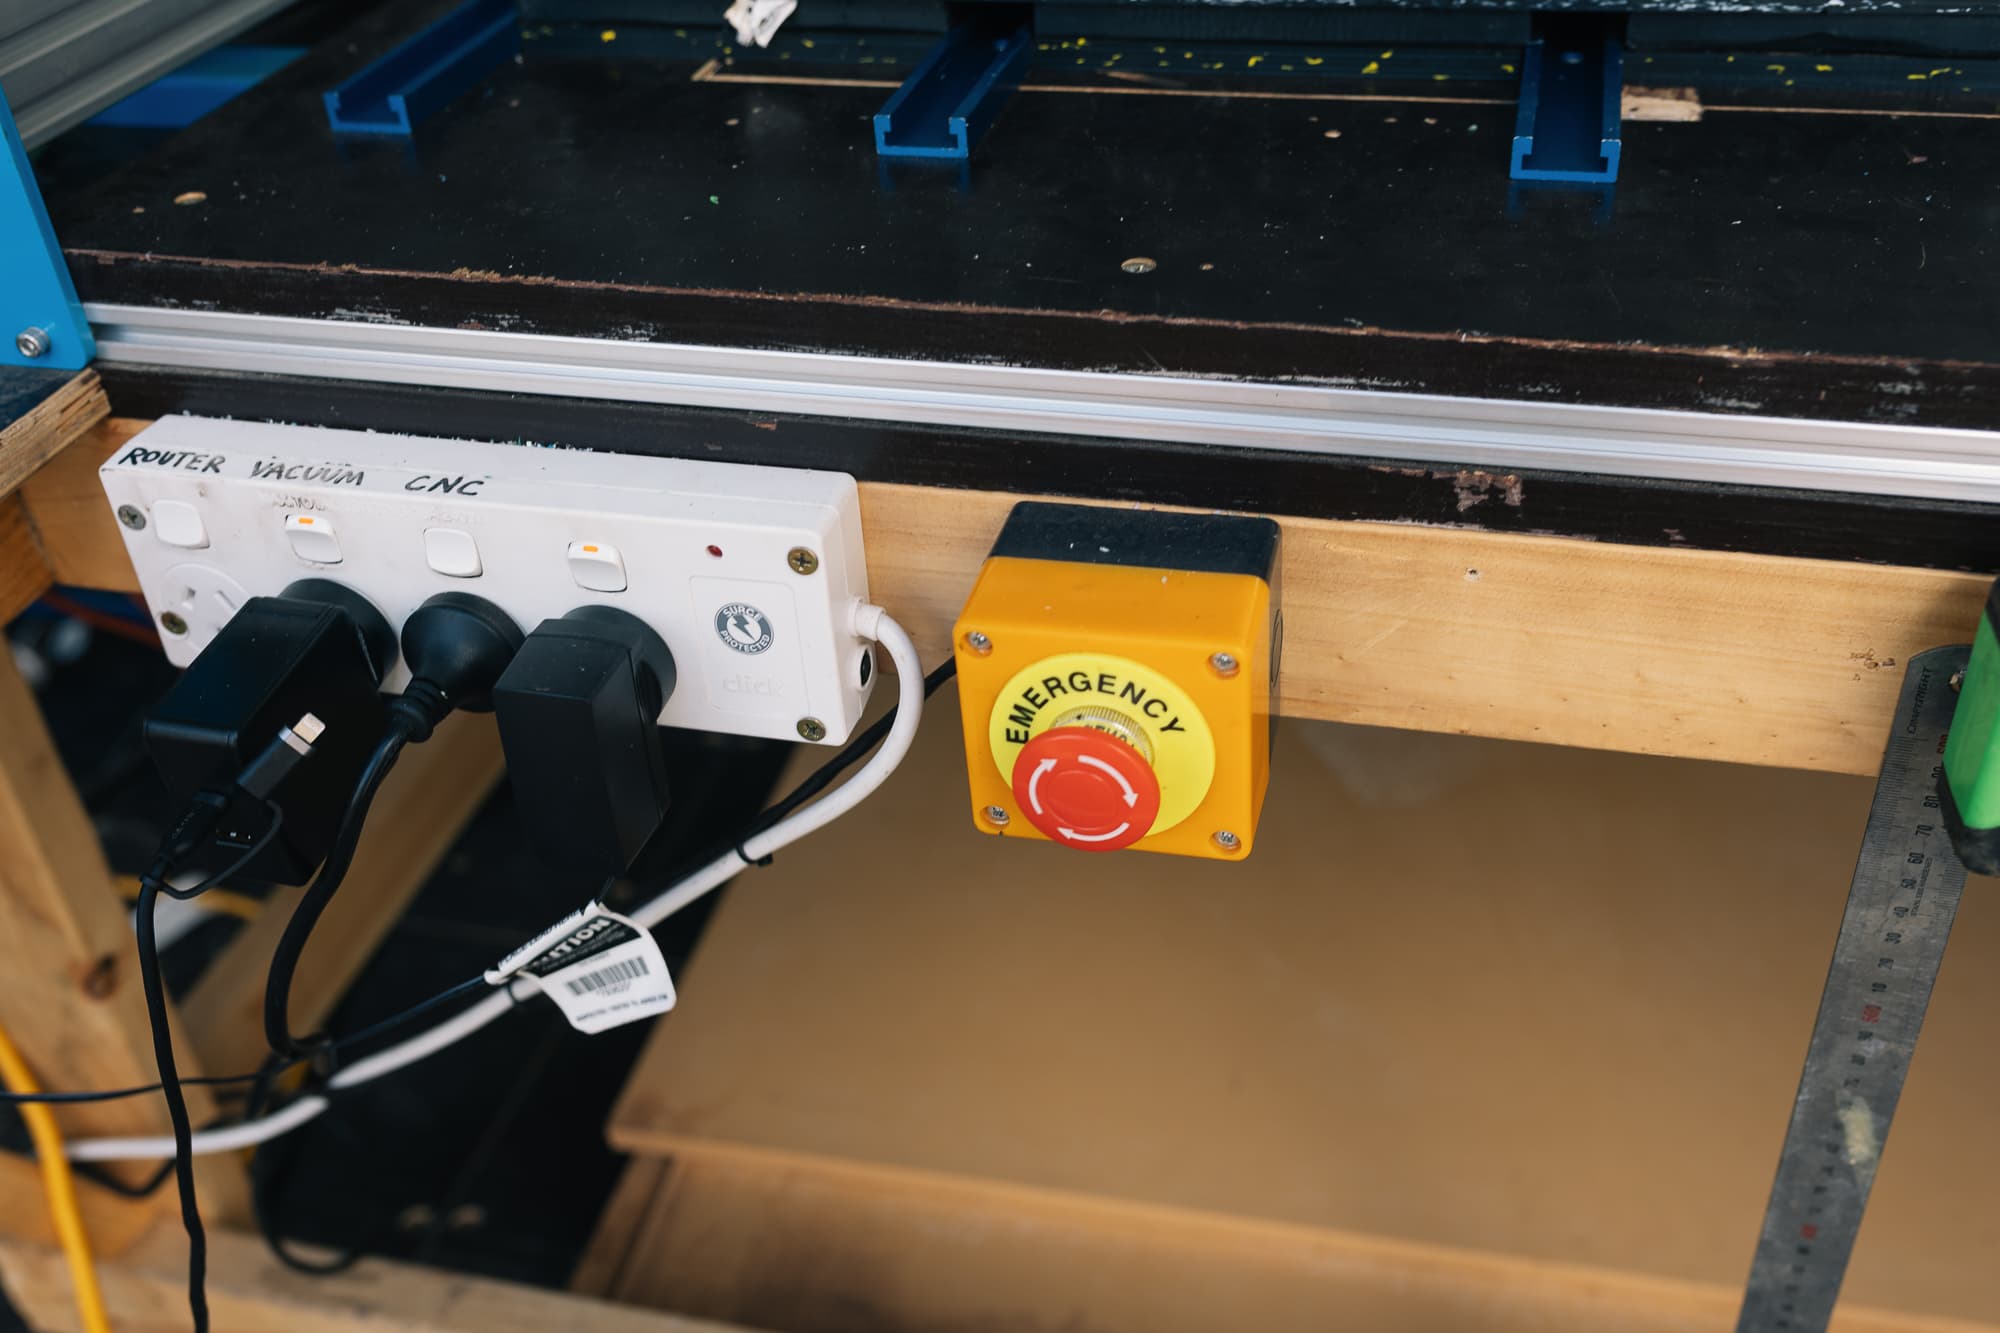
- Inspect shredder before use
- Feed plastic gradually, don't force it
- Stop immediately if jam occurs (power off before clearing)
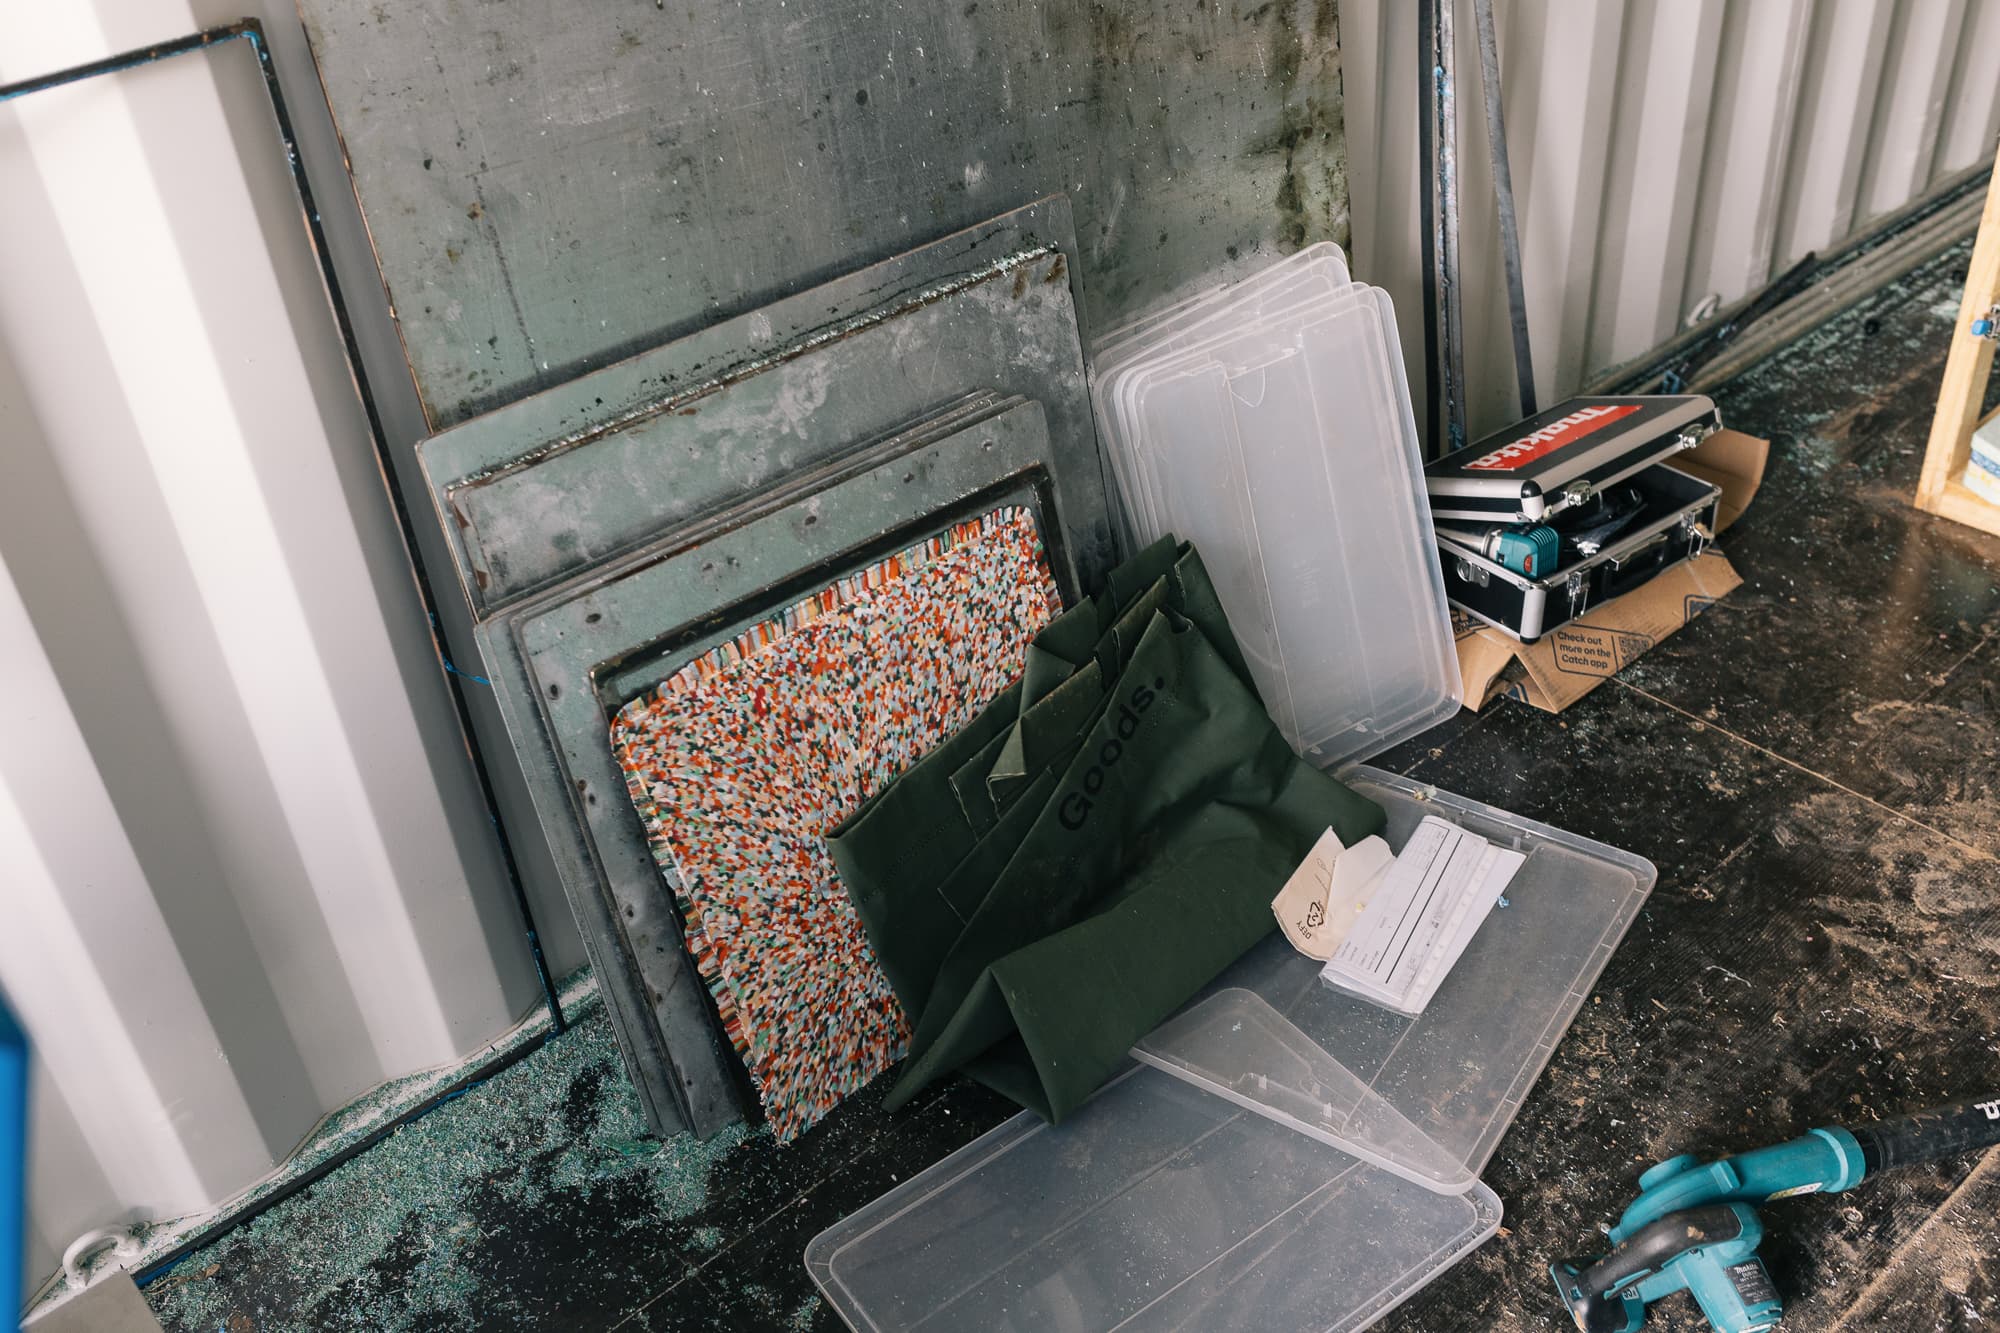
- Basic power tools needed: jigsaw, multi-tool, drill for pre-cutting larger pieces
💡 Joey's Tip
Jams happen. Expect to spend ~40 min unjamming occasionally. Just have patience, power off, clear it, and restart. If you have the bandsaw available, pre-cut pieces smaller before feeding.